Type "scenario shooting targets" into a search bar and the results split in two. Half are silhouettes with a costume printed on them: a black torso holding a cartoon pistol, a zombie, a hooded figure with no background. The other half are the real thing. A scenario shooting target puts a specific person, in a specific place, doing a specific thing on a life-size sheet of paper, and it asks the shooter to read all three before deciding whether the trigger moves at all. This guide defines the category properly, breaks it into the five scenario families, and, because most articles stop at "buy these," explains how to actually run a scenario target on a range so it trains judgment instead of just decorating a stand. For where scenario paper sits against silhouettes and anatomical targets, the three-layer target guide covers the stack; this article is about the third layer alone.
What a scenario shooting target actually is
The word "scenario" gets attached to almost anything that is not a bullseye, so the definition has to be strict. A scenario target has three parts, and it needs all three:
- A person, at life scale. Not an outline. A recognizable human being with a face, hands, posture, and clothing, printed large enough that at seven yards the figure subtends roughly what a real adult would. On a 24×36 sheet that means the subject fills most of the height.
- A place. A parking lot, a hallway, a kitchen, a driver's door, a church aisle. The environment is not decoration. It tells the shooter where cover is, who else is in the frame, how much light there is, and how close the problem already is.
- A decision. Something in the scene has to be read before the shot: a weapon that is or is not there, hands that are or are not empty, a hostage's body between the shooter and the threat, a bystander at the edge of the lane. If every target in the set is a clear, squared-up gunman, the set is realistic-looking silhouette practice, not scenario training.

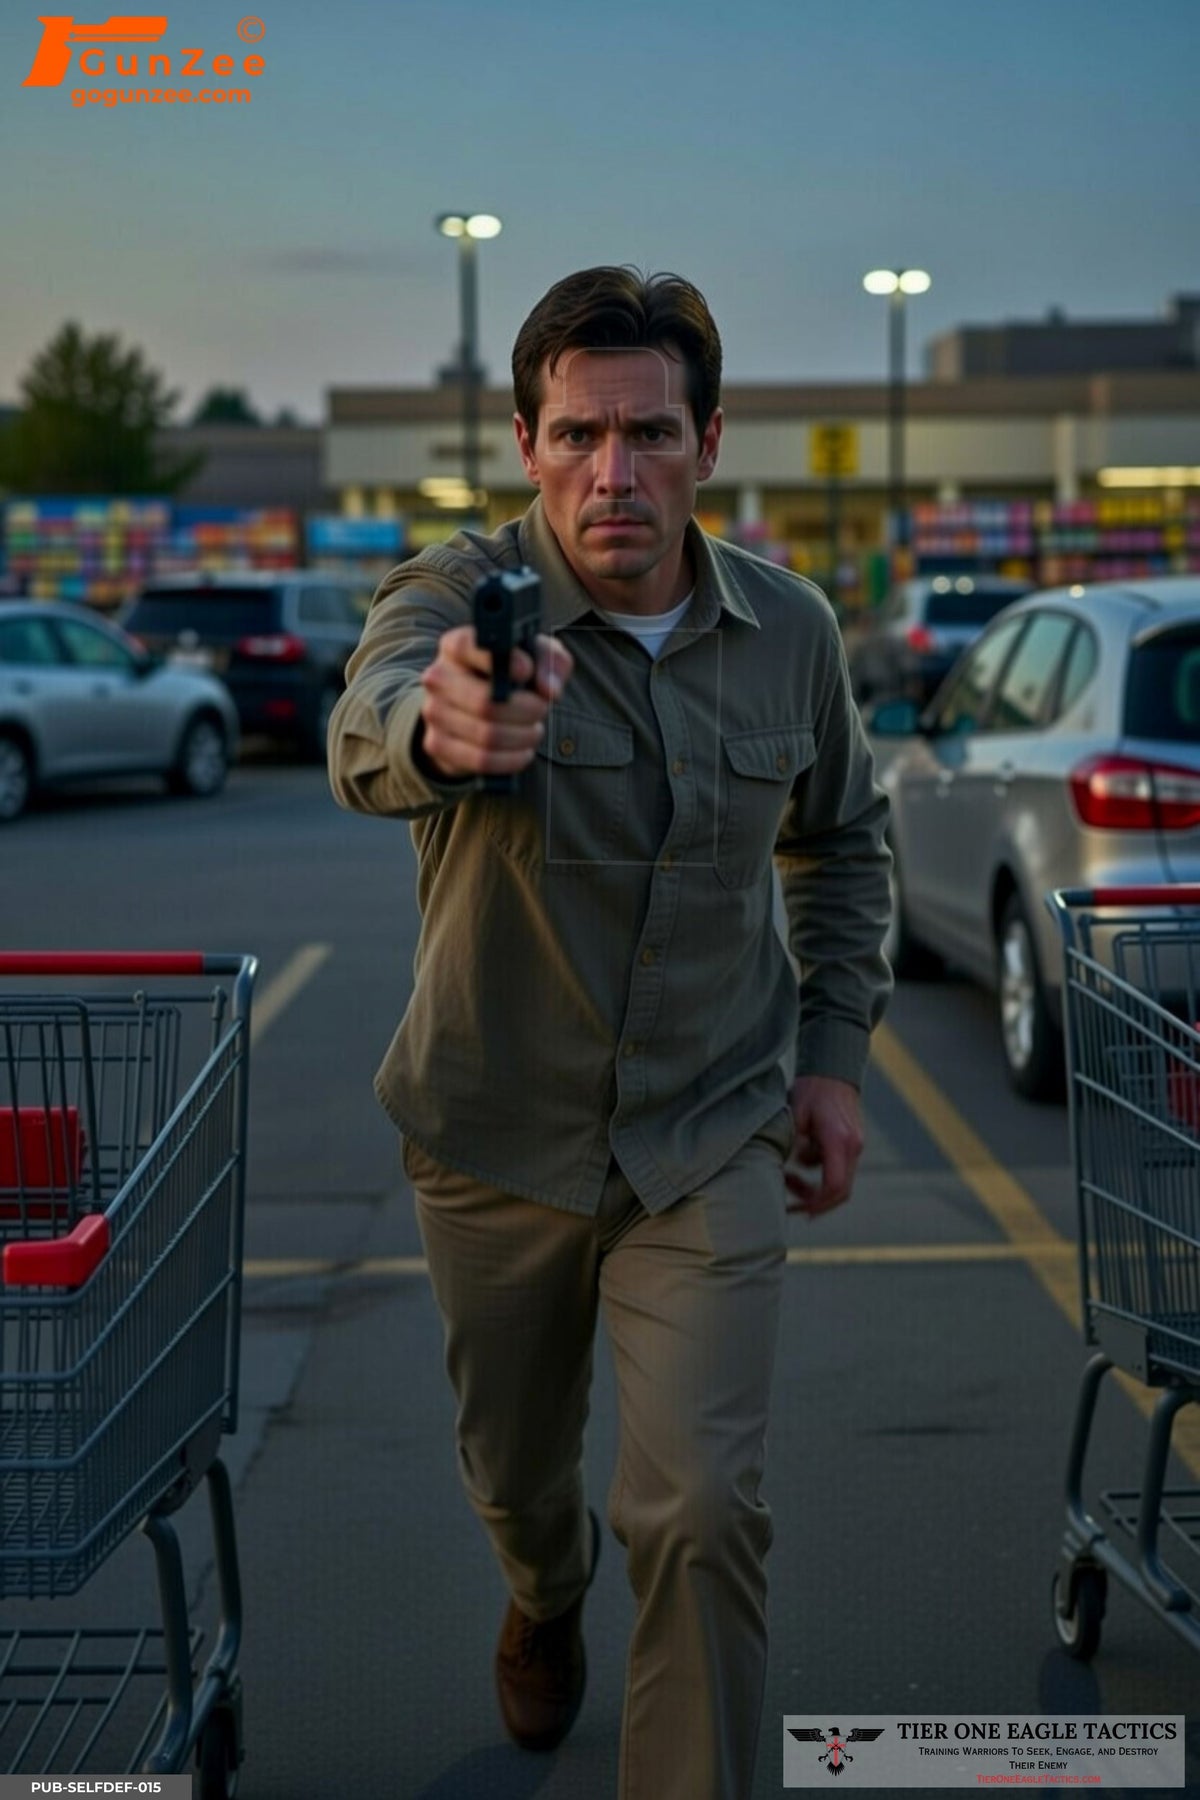
The target above is the category in one frame: an armed man closing distance across a grocery store parking lot at dusk. The weapon is visible, the intent is on his face, the environment says "public, crowded, fifteen feet and closing." Compare that to a B-27 silhouette, which supplies a torso and a set of rings and asks one question: how tight is the group? Both are legitimate tools. Only one of them trains the part of a defensive encounter that goes wrong most often, which is the read that happens before the shot.
What a scenario target is not: a silhouette with a hoodie drawn on it, a paper zombie, a splatter grid with a "tactical" label, or a bullseye with a photo-realistic face pasted over the ten ring. The tactical shooting targets guide spends its first half on why those fail; the short version is that none of them contain a decision.
The four things every scenario target has to show
When evaluating any scenario target, from any manufacturer, look for four things in this order. If one is missing, the target will not train what it claims to.
1. Hands. The hands are the decision. A weapon in hand, a weapon in a waistband with the hand moving toward it, a phone, a wallet, empty palms turned out. If the hands are cropped, hidden, or ambiguous by accident rather than design, the target cannot be scored for judgment.
2. Face and posture. Intent lives in the face and the body. A subject squared up and leaning in is a different problem than the same subject turning away. Scenario targets that reuse one blank expression across a whole catalog lose this layer entirely.
3. Environment with consequences. The background should change how the shooter would behave: a hostage in the lane, a child in a doorway, a wall that is or is not cover, a crowd behind the subject that makes the miss matter. A subject floating on white paper is a silhouette in clothing.
4. Life scale. Judgment training at half scale trains the wrong distance. At 24×36 a standing adult prints near life size, so seven yards on the range looks like seven yards on the street. The self-defense targets guide covers scale honesty in detail; it applies to every family below.
The five scenario families
Scenario targets sort by the environment they depict, because the environment sets the problem. Most defensive shooters need at least two families; instructors and agencies rotate all five.
Residential and close-quarters
Hallways, bedroom doorways, kitchens, living rooms, closets. Distances are short, angles are tight, family members are in the frame, and the threat is often already inside the reactionary gap when it is first seen. This is the family where no-shoot content matters most, because the person in the doorway at 2 a.m. is more often a family member than an intruder. The residential library lives in Home Defense, CQB & Hostage Scenarios; the solo CQB drills article builds the drills around it.

The trailer knife threat above shows why residential scenarios need edged weapons as well as firearms: the read is the raised arm and the distance, and the time available is measured in steps, not seconds.
Public and everyday
Parking lots, ATMs, gas pumps, grocery stores, festivals, churches, workplaces. The defining feature is bystanders: the shot has to be justified and safe to take with people behind and beside the subject. Public scenarios are where most concealed-carry holders should spend the bulk of their scenario time, because this is where they live. The library is Public & Everyday Self-Defense, and the ten defensive scenarios article lists the encounters worth training first.
Vehicle and barrier
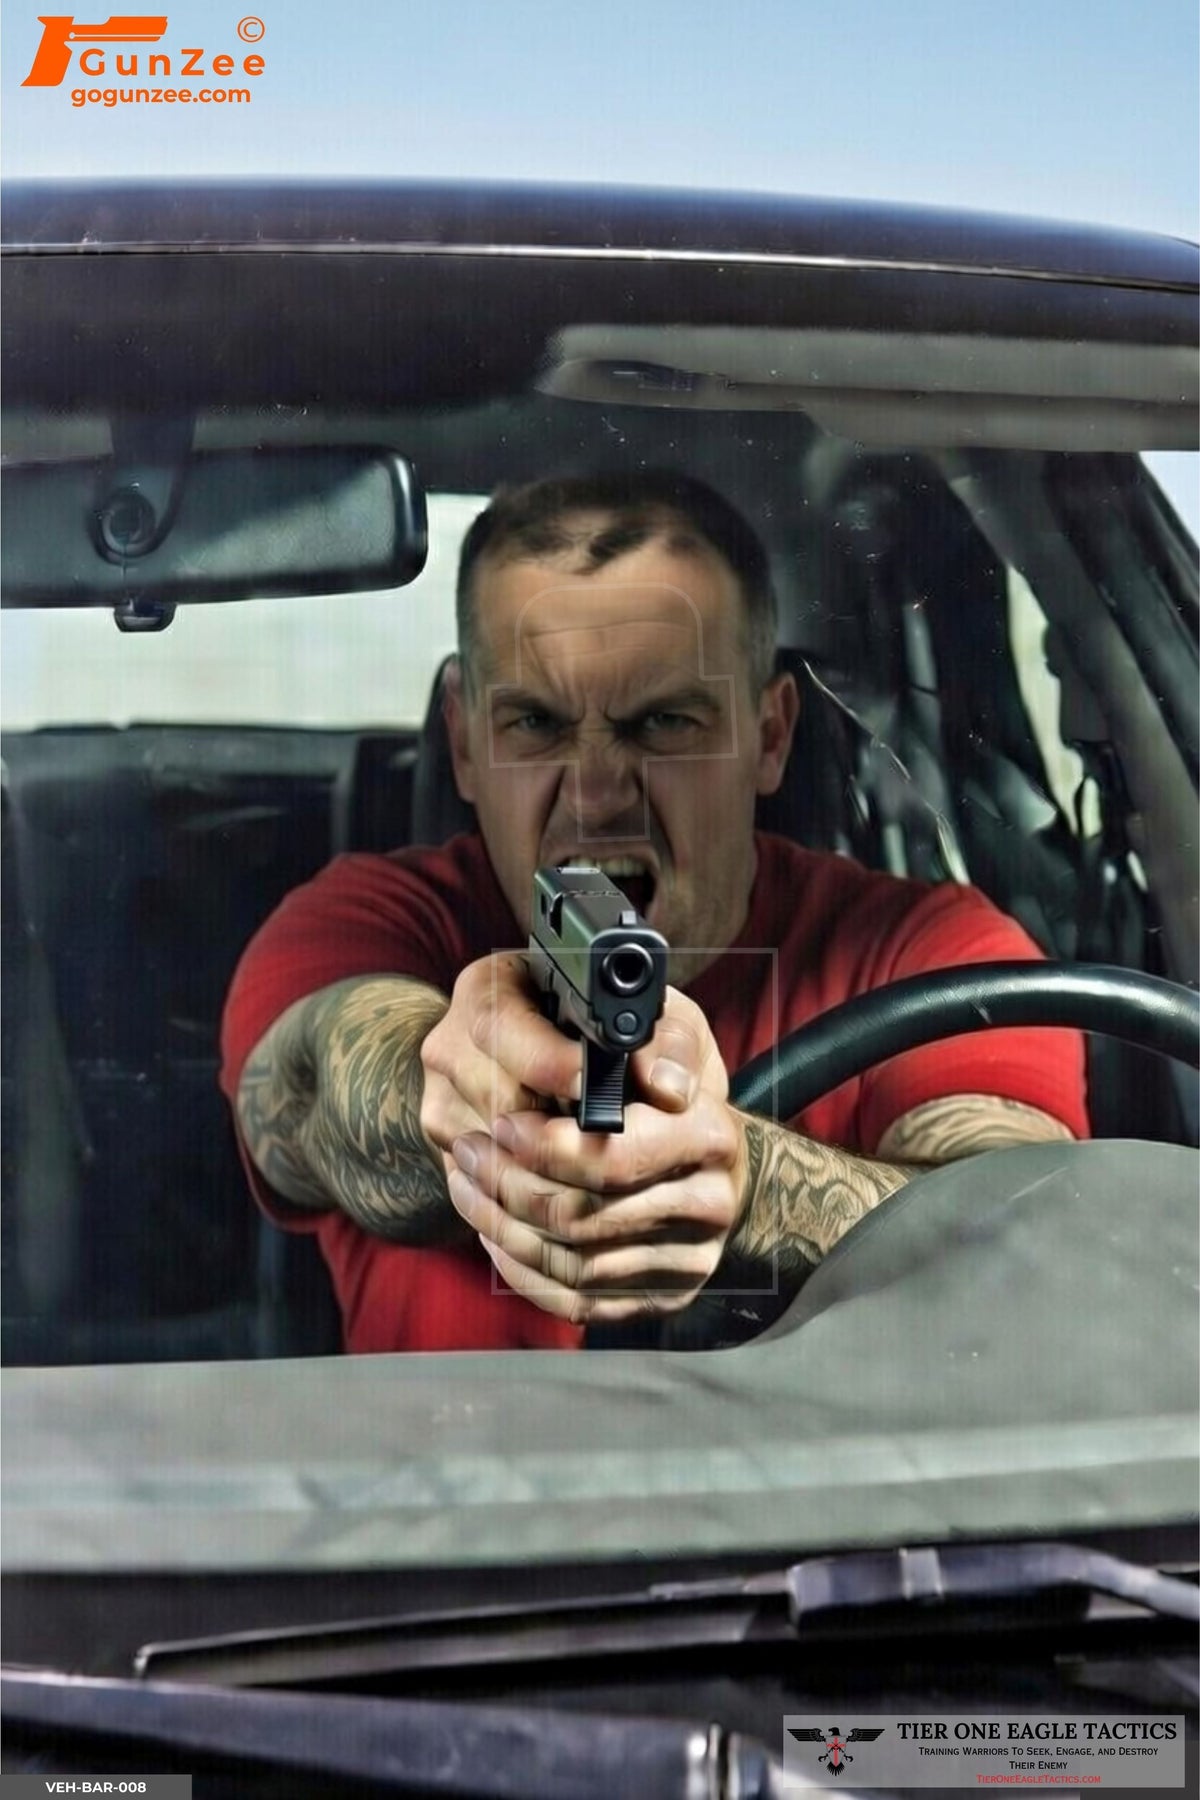
Carjackings, roadside confrontations, threats through a windshield or around a door jamb. Vehicles create geometry the square range never does: partial cover, awkward angles, glass, and a seated or half-exited defender. These targets depict subjects using the car as cover or attacking through it. The vehicle barrier shooting targets guide covers the seven presentations where the car is in the way of the shot and how to run them at vehicle height.

The door-jamb armed threat above leaves only the head, one shoulder, and the weapon exposed, which is the whole lesson: the available target area is a fraction of the silhouette, and it is not where the rings are. The full set is in Vehicle & Barrier; the vehicle as cover pillar covers the training side.
Hostage and shoot / no-shoot
A threat with a hostage in front of them, or a subject whose hands need reading before anything else. These are the decision-heaviest scenarios in the catalog: the exposed target area is small, it moves with the hostage, and a bad read has the worst possible outcome. Every scenario set needs some of these, and instructors should treat the ratio of no-shoot to shoot targets as a design variable, not an accident. The hostage rescue and shoot / no-shoot collections hold the two halves; the judgment drills pillar explains how to sequence them.
No-kill-zone scenarios
Most scenario targets carry subtle scoring zones so hits can be graded. A no-kill-zone target removes them. The scene is the same, but nothing on the paper tells the shooter where to aim; the shooter has to already know where the cardiac box and the cranial T-box sit on a real body in that posture. This is the advanced tier of scenario training, and it pairs directly with the anatomy in the kill zones explainer.

The kitchen defensive stance target above is a good example of the tier: an armed woman, weapon up, in a domestic setting, with nothing printed to guide the shot. It also makes a second point that matters across the whole category: scenario libraries have to vary age, sex, build, and clothing, or the shooter learns to key on a "type" instead of on hands and behavior.
How to run a scenario target
Buying scenario paper and shooting it like a silhouette wastes the paper. The protocol below is what separates scenario training from realistic-looking marksmanship practice. It works for a single shooter with a shot timer and for an instructor running a line.
Face away, then turn and read. The shooter starts facing up-range or with eyes closed while the target is hung or uncovered. On the signal, turn, read the scene, and act. The read is the drill. If the shooter has been staring at the target for two minutes before the beep, the decision has already been made and nothing is being trained.
Mix no-shoots into the stack, unannounced. A workable ratio is one no-shoot for every three or four threats, hung in random order. The shooter must not know which is coming. Scoring a no-shoot is simple: any round fired at it is a failure of the whole string, regardless of where it landed. The armed versus unarmed identification article covers what to look for; the point here is that the no-shoot has to be in the rotation, not in a separate "judgment" session where everyone already knows the rules.
Work conversational distances. Three, five, and seven yards. Most scenario targets depict a problem that is already close, and the environment on the paper only reads correctly at the distance it depicts. Save fifteen and twenty-five yards for qualification paper.
Put a timer on it, then take the timer off. A shot timer exposes the cost of the read: a shooter who draws in 1.4 seconds on a silhouette and 2.3 on a scenario target has just measured their decision time. That number is the training metric. Run the same target without the timer afterwards to confirm the read is still being made when nobody is counting.
Score by anatomy, not by proximity. A hit on a scenario target counts if it lands where it would have stopped that subject in that posture: high chest or head on a squared-up threat, whatever is exposed on a subject behind cover or a hostage. A round in the shoulder is a miss with consequences, not a "7." Where a target has subtle scoring zones, use them; where it does not, mark the vital area with a pen before the string and score against the mark. The cardiac box versus T-box article explains when the aim point should shift mid-engagement.
Debrief every target before it comes down. Three questions, asked out loud or written on the paper: What did you see that made this a shoot or a no-shoot? Where was the first round supposed to go, and where did it go? What was behind and beside the subject? A scenario target that is shot and thrown away without those three questions has delivered about a third of its value.
Rotate the paper. Scenario targets are single-use in a way silhouettes are not: once the scene has been read, the same sheet no longer trains a read for that shooter. Fresh scenes per string keep the drill honest. Instructors planning a course should budget paper by the string, not by the session; the CQB training targets article works through the turnover math.
Choosing scenario targets by who you are
Concealed-carry holder training alone. Start with public and everyday scenarios, add residential, and make at least a quarter of the stack no-shoots. Ten to fifteen distinct scenes is enough to run the protocol above for months without the reads going stale. A curated starting point is the best-sellers 15-pack, which spans all five families.
Instructor running a class. Variety and ratio are the design problem: enough distinct scenes that students cannot memorize the deck, and a no-shoot ratio students never learn. Pre-built training packs are assembled around exactly that, by curriculum block.
Agency or department. Scenario targets fit between qualification paper and force-on-force, and they are the cheapest layer of the three. More than 200 law-enforcement agencies and training facilities run GunZee scenario targets today; the law enforcement training targets collection and the LE training targets guide cover selection for a qualification-to-decision program.
Whatever the role, the full catalog of scenario paper, every family under one page, is the paper shooting targets collection: more than 220 designs, from $1.95 each.
Frequently asked questions
What is a scenario shooting target?
A life-size paper target that depicts a specific person in a specific environment doing something that requires a decision before the shot: a visible or hidden weapon, a hostage, a bystander, or empty hands. It trains the read that precedes the shot, where a silhouette or bullseye trains only the shot.
How is a scenario target different from a silhouette?
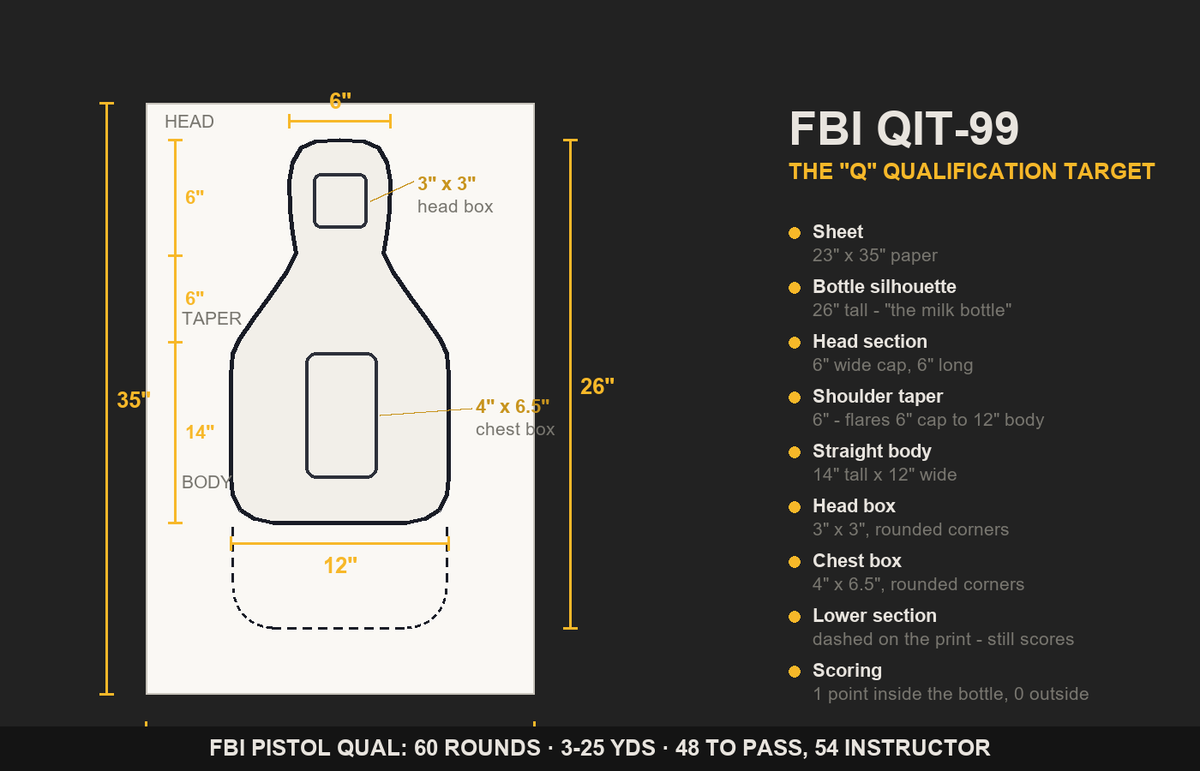
A silhouette (B-27, FBI Q, IDPA) is an outline with a scoring system and no decision; every repetition is a shoot. A scenario target contains a scene that may or may not justify shooting, and it is scored on the decision and on anatomical placement rather than on rings.
How many scenario targets do you need?
Enough that the shooter cannot predict the next scene. For an individual, ten to fifteen distinct designs across at least two families, with roughly a quarter of them no-shoots. For a class, one fresh scene per shooter per string, because a scene that has already been read no longer trains a read.
Are scenario shooting targets good for beginners?
Yes, once the shooter can keep rounds on a silhouette at seven yards. The scenario layer adds judgment, not difficulty of marksmanship, and starting it early keeps a new shooter from learning that every target is a shoot.
Do scenario targets have scoring zones?
Most carry subtle zones over the vital areas so hits can be graded without cluttering the scene. No-kill-zone versions remove them entirely for shooters who already know where to aim on a real body, which is the advanced tier of the category.
The bottom line
A scenario shooting target is a person, a place, and a decision on life-size paper. Judge any target against those three parts and the four things it has to show; sort a library across the five families; and run the paper with a turn-and-read start, unannounced no-shoots, conversational distances, a timer, anatomical scoring, and a debrief. Do that and the same $1.95 sheet trains the half of a defensive encounter that a silhouette never touches.
Related reading
What Types of Targets Should You Train With? Silhouette, Anatomical, Scenario · 10 Defensive Shooting Scenarios Every CCW Holder Should Train For · Shoot / No-Shoot Decision Drills · Shooting Target Kill Zones: T-Box, Cardiac Box, A/C Zones · Tactical Shooting Targets: What Counts and How to Choose