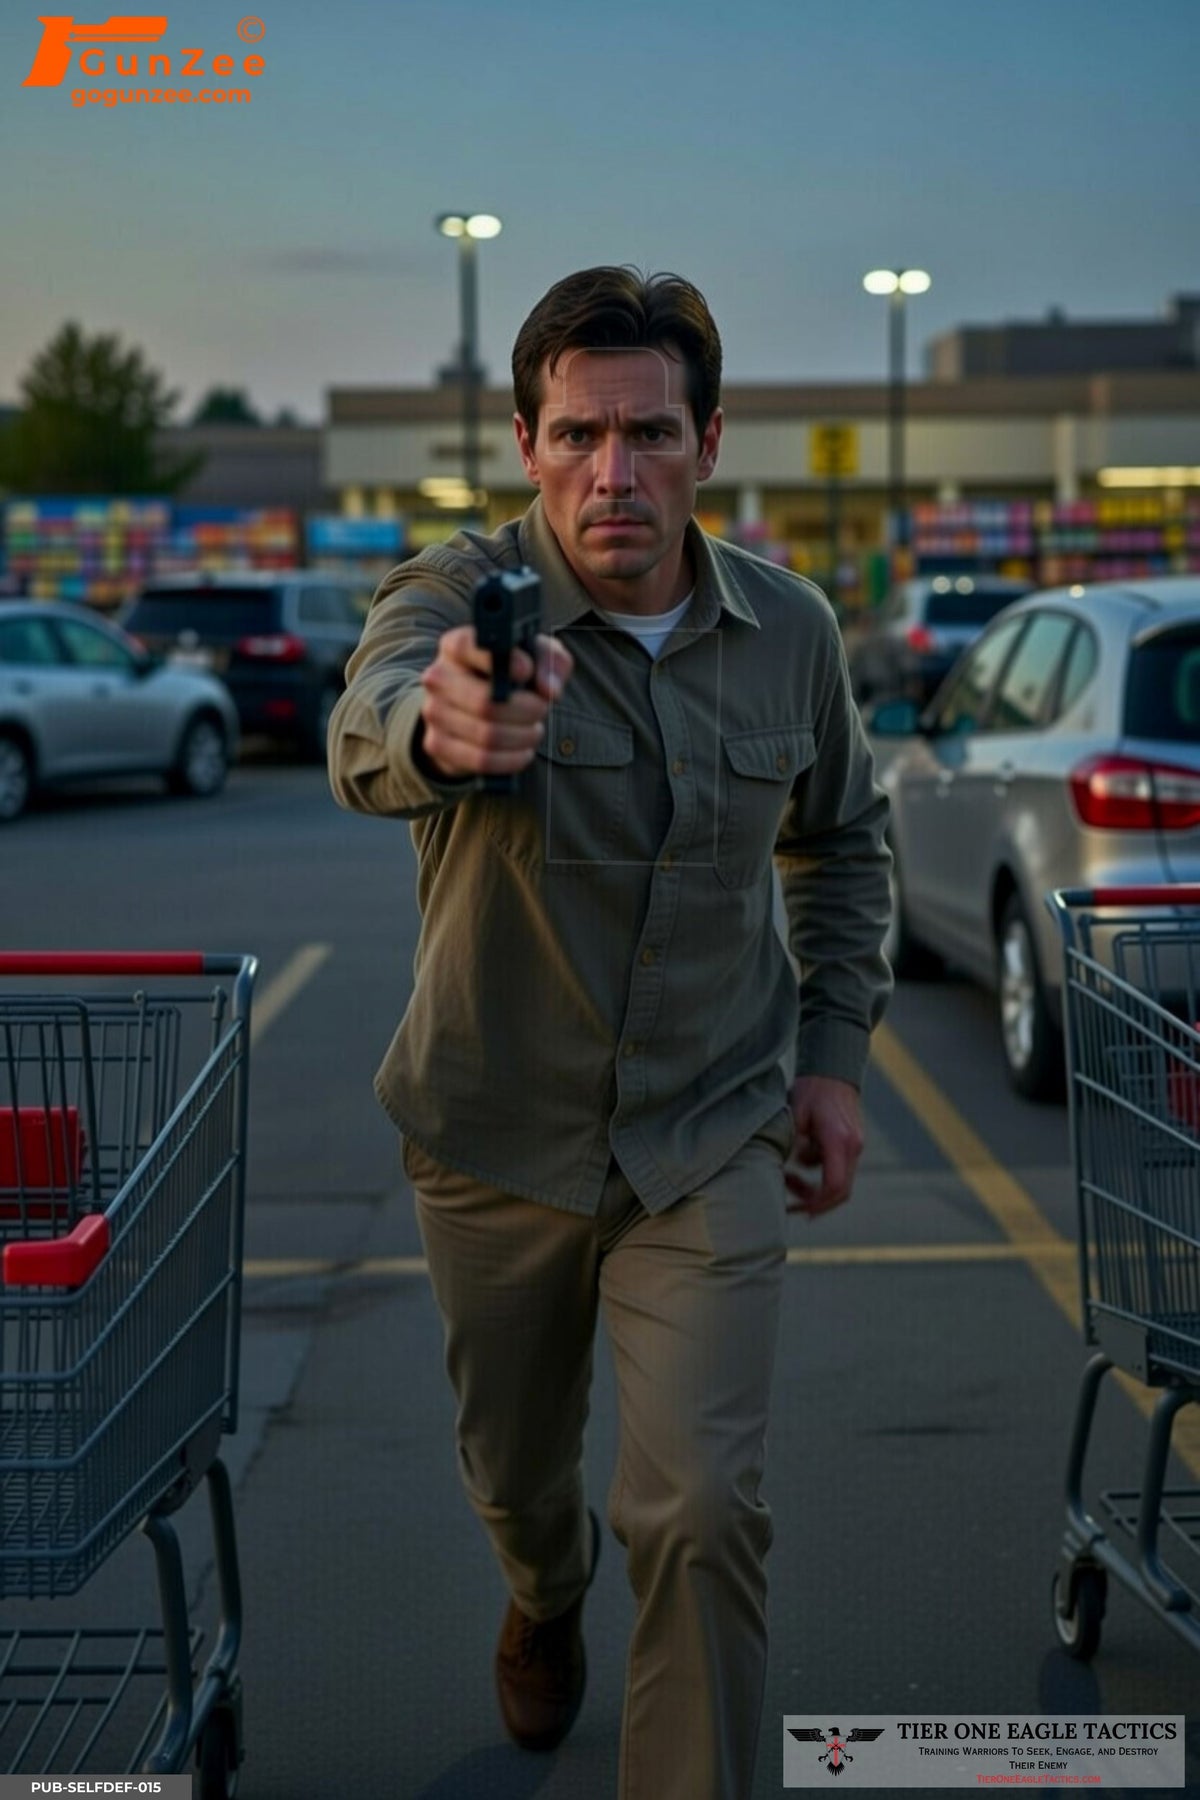
A car shows up in a gunfight in one of two ways. Either the shooter is inside it and the threat is at the window, which is the carjacking problem, or the threat is inside it, behind it, or coming out of it, and the shooter has to solve the car before solving the person. Vehicle barrier shooting targets exist for that second problem. The carjacking half already has two full guides in the Range Manual, the vehicle-as-cover training guide and the carjacking target buyer's guide, so this article leaves it alone. What follows is the barrier half: what a vehicle does to a shot, the seven presentations that cover it, what paper can and cannot teach about glass, and how to set the targets up so the range rep actually resembles the problem.
What a vehicle does to a shot
The cover-versus-concealment argument is settled elsewhere: a door stops almost nothing, the engine block and the wheel hubs stop a great deal, and everything in between is a guess. That is the defender's side of the car. The barrier side is what the same vehicle does when the threat is the one using it, and it changes four things at once.
- It shrinks the target. A seated driver shows a head and a slice of upper torso through a window. A man leaning out from behind a door shows even less. The vital zones that fill a silhouette at seven yards become a few square inches framed by metal and glass.
- It bends the round. Any bullet that passes through glass, especially the laminated glass of a windshield, leaves at a different angle than it entered. The shot that would have landed on an open silhouette lands somewhere else through a windshield, and where it lands depends on angle, distance, and the round.
- It compresses the angle. A threat inside a car is engaged from where the shooter happens to be standing when the weapon appears, which is rarely square to the subject. Door frames, pillars, mirrors and headrests all cut into the sight line, and the shooter cannot always step around them.
- It adds people. Cars carry passengers. A threat in the driver's seat often has someone beside or behind him who is not a threat, and the backstop for any miss is the rear seat. Nothing about a square-range silhouette prepares a shooter for that.
A vehicle barrier target is a life-size scene that presents those four problems on a 24×36 sheet: a real person, a real car, a weapon, and a barrier between them and the shooter. It is the vehicle family of scenario shooting targets, and like every scenario target it is scored on where the hit lands on the body, not on rings.

The seven vehicle barrier presentations
Eleven designs make up the Vehicle & Barrier collection. Four of them are carjackings, seen from the driver's seat, and belong to the other two guides. The remaining seven put the threat in or around the vehicle with the car in the way. Each one trains a different version of the barrier problem.
1. Armed driver, door open
The armed driver engagement target is the simplest presentation and the one to start with. The subject is seated behind the wheel with the door swung open and a handgun already up and oriented on the shooter. There is no approach phase and nothing to read; the decision was made before the target turned. What the paper trains is the seated geometry. The torso is low and canted, the door frame cuts across one side of the body, the steering wheel covers part of the chest, and the head sits higher than it would on a standing silhouette relative to the exposed torso. Shooters who have only ever engaged a standing figure consistently place the first round low on a seated one.
2. Armed driver, door closed
Close the door and the same threat becomes the closed-door armed driver target. Now the window frame, the door skin and the side glass sit between the muzzle and the subject. The exposed area drops to the head and the upper chest above the sill, and the shooter has to decide immediately whether the shot goes over the door, through the window, or through the door itself, knowing that the door will not reliably stop a round in either direction. It is the presentation most often described by instructors as common on the street and almost never trained on the range.
3. Windshield gunman, aiming out
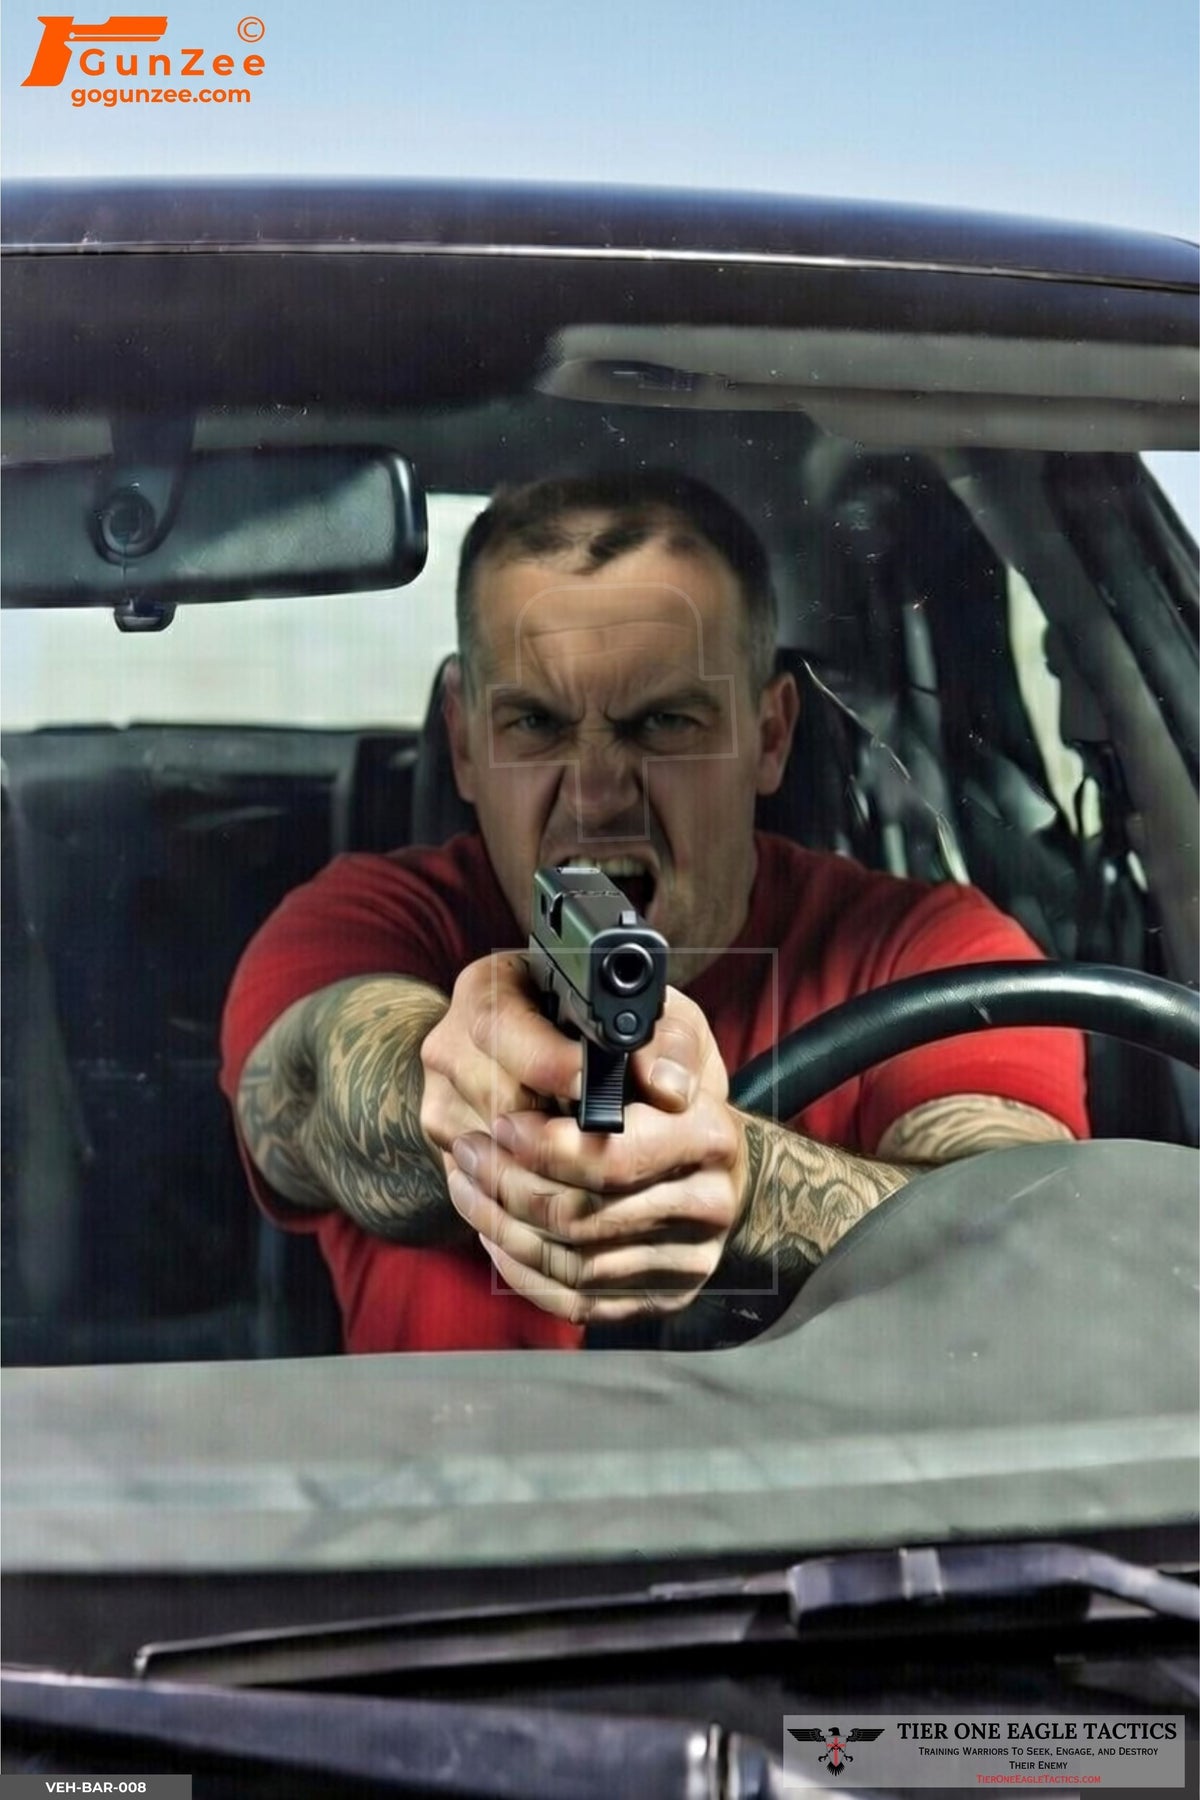
The lead image of this article is the windshield gunman target: a driver behind the wheel with the handgun extended through the sight line of the windshield, square to the shooter. Nothing is ambiguous. The training value is entirely in the glass. The shooter is looking at the subject through a sloped laminated windshield, which distorts the image, catches glare, and, when the round is fired, deflects it. The hit that lands is not the hit that was aimed, and the debrief after this target is where a shooter first learns how much a windshield moves a bullet.
4. Windshield assault, firing in
Flip the perspective and the windshield assault target puts the shooter inside the car with an attacker at the hood, already firing through the glass. Bullet strikes spider the windshield, the attacker's face is partly obscured by the damage, and the shooter's own rounds have to go back out through the same glass. It is the one design in the set where the shooter is the one behind the barrier, and it belongs in this group rather than the carjacking group because the problem is the glass, not the door.

5. Door-jamb armed threat
The door-jamb armed threat target is the smallest exposure in the family. The subject is standing behind an open door, using the door and the frame as cover, and leaning out only far enough to aim. What is available is the head, part of one shoulder and the gun hand. The modified T-box on this design is not decoration; it is the whole target. This presentation is where a shooter finds out whether the fundamentals hold up when the acceptable hit area is the size of a playing card at five yards and a miss goes through a door that may have someone behind it.
6. Armed subject exiting the vehicle
The exiting-vehicle target catches the threat halfway out: one foot on the ground, body twisted, weapon already presented. The subject is neither inside the car nor clear of it, and the posture is unstable in a way no silhouette ever is. The training value is in reading a body that is mid-movement. The hips are turned, the torso is leaning, the vital zones are not where a squared-up figure keeps them, and the door frame is still in the picture. It is the transition moment that most vehicle training skips because it lasts about a second in real life.
7. Dual gunmen with passengers
The dual gunmen target is the most demanding sheet in the collection. Two armed subjects in the same car, one in the driver's seat aiming through the windshield and one in the back seat aiming over his shoulder, with unarmed passengers beside both of them. Every problem in this article lands at once: glass, angle, reduced exposure, sequencing, and a backstop full of people who are not part of the fight. This is not a first-week target. It is the one that tells an instructor whether the rest of the family has been learned.

Glass, deflection, and what paper can teach
Honesty about the limits matters here. A paper target cannot deflect a bullet. What it can do is put the shooter in front of the correct picture, with the correct amount of the subject visible, and force the read and the shot placement that a windshield engagement demands. The deflection itself has to be learned somewhere with real glass, and every serious vehicle course includes that block for a reason.
The rules of thumb that those courses teach are worth knowing before the paper goes up, because the target should be shot with them in mind. A windshield is laminated: two sheets of glass bonded to a plastic layer, sloped steeply toward the shooter. Side and rear windows are usually tempered glass, which shatters into fragments on the first hit. The widely taught guidance is that a round fired from inside the car out through the windshield tends to deflect upward, and a round fired from outside in tends to deflect downward, with the effect growing as the angle gets steeper and the distance grows. The first round through a windshield is the least predictable; follow-up rounds through the hole the first one made behave more like a normal shot. Heavier and faster rounds hold their line better than light ones. All of it varies enough by ammunition and angle that instructors tell students to test their own loads on real glass rather than trust a rule, and that advice stands.
What the paper does teach is the correction. A shooter who knows the glass will push the round off line learns to hold for it, to expect the first hit to land off the intended point, to send a fast second round through the same spot, and to check the hit on the body rather than assume it. The scoring zones on these targets exist for exactly that check. A hit that lands in the cardiac box after passing through a windshield is a solved problem; a hit two inches high that would have clipped the headrest is a lesson, and the target shows which one happened.
How to set up and run vehicle barrier targets
The general protocol for scenario targets applies: face away, turn on a signal, read, decide, shoot or do not, then debrief on the paper. Vehicle barrier targets add four specifics.
- Put the target at vehicle height. A seated driver's head is roughly four feet off the ground; the top of a standard target stand puts the printed head at five and a half or six. Lower the stand, or hang the sheet lower on the frame, so that the shooter is looking down into the car the way they would on the street. The angle changes the presentation of the vital zones more than most shooters expect.
- Use a real barrier when possible. A junked door on a stand, a plywood cutout of a window frame, or a barricade with a slot cut at window height all put something physical between the shooter and the paper. Even a simple visual barrier forces the shooter to find the exposure instead of having the whole sheet available.
- Work the angles, not just the square. Run the same target from the driver's-side A-pillar, from square on to the hood, and from the passenger side. Each position changes which part of the subject is available and which frame member is in the way. The dual-gunmen target in particular is a different problem from each side of the car.
- Mix in a no-shoot. A vehicle set that is all armed drivers trains a shooter to fire at anyone in a driver's seat. Pair the family with unarmed vehicle presentations, or with a hands-visible no-shoot target on a second stand, so the read is real. The shoot / no-shoot drill guide covers the ratio and the timing.
Distances stay short. Three to seven yards covers almost every vehicle engagement, and the exposed area on the door-jamb and closed-door presentations is small enough that seven yards is already demanding. Score every hit on the anatomy, using the T-box and cardiac box printed on the design, and treat any round outside the subject's body as a round that went into the car, the passenger, or the street behind it.
Who this family is for
Law enforcement. The vehicle stop is the most common armed contact an officer makes, and the armed-driver, closed-door and exiting-subject presentations are that contact on paper. Agencies that already run the law enforcement training target rotation usually add the vehicle family as the block after basic decision training, because it is where their officers actually work. The law enforcement target guide covers where it fits in a qualification-to-decision progression.
Executive protection and security. Vehicle-relative engagements, where the protectee is in or beside a car, are the core of the job. The windshield and dual-gunmen presentations train the response to an attack on a moving or stopped vehicle from the outside.
Civilians who carry. Most of a concealed carrier's vehicle risk is the carjacking, and the two guides linked at the top handle it. The barrier family matters for the roadside confrontation that is not a carjacking: the road-rage driver who steps out armed, the argument in a parking lot that turns into a weapon through an open window. Two or three barrier designs added to a carjacking set covers it.
Building a vehicle barrier set
Every design in the family is a single 24×36 sheet at $1.95, with volume pricing starting at fifty targets. A reasonable set for each buyer:
- Individual or small class: armed driver door open, closed-door armed driver, windshield gunman. Three designs that cover seated geometry, the door, and the glass.
- Agency or academy: all seven barrier presentations, ordered in quantity so that no officer sees the same sheet twice in a session, plus the four carjacking designs for the officer-in-vehicle block.
- Vehicle course with live glass: the two windshield designs in depth, shot through real glass on the barrier, with the paper behind the glass showing where the deflected round actually landed.
Rotate the set the same way as any scenario library: once a shooter can predict the next presentation, the read is gone and only the marksmanship remains. Seven distinct designs, run from three positions each, is twenty-one different problems before anything repeats.
Frequently asked questions
What is a vehicle barrier shooting target?
A life-size paper target that depicts an armed subject inside, behind, or exiting a vehicle, with the car's glass, door or frame between the subject and the shooter. It trains the reduced exposure, the awkward angles, the glass deflection correction, and the passenger problem that a vehicle adds to a defensive shot.
How is it different from a carjacking target?
A carjacking target puts the shooter in the driver's seat with the attacker at the window; the vehicle is the shooter's own. A vehicle barrier target puts the threat in the car with the shooter outside it, so the vehicle belongs to the threat and acts as a barrier to the shot.
Can a paper target teach shooting through a windshield?
It teaches the picture and the correction: what a subject looks like through sloped glass, how little of the body is available, and where to hold and check the hit. The deflection itself has to be experienced on real glass, which is why vehicle courses include that block. The paper is what the shooter aims at behind the glass.
Which vehicle barrier target should a shooter start with?
The armed driver with the door open. It has the least obstruction and teaches seated geometry, which every other design in the family builds on. The closed-door version and the windshield gunman come next.
Do these targets have scoring zones?
Yes. Each design carries a modified T-box and cardiac box over the vital areas, sized to the seated or partially obscured presentation, so a hit can be graded on the anatomy that was actually exposed rather than on rings that assume a standing figure.
The bottom line
A vehicle barrier target is the vehicle family of scenario training: a real person in a real car, with the car in the way. Seven presentations cover the seated driver, the closed door, both sides of the windshield, the door jamb, the exiting subject, and two gunmen with passengers. Set them at vehicle height, work them from three angles, put something physical between the muzzle and the paper, mix in a no-shoot, and score every round on the body. The glass still has to be learned on glass. Everything else about the problem can be learned on a $1.95 sheet.
Related reading
Vehicle as Cover: How to Train for Carjacking & Roadside Threats · Carjacking Shooting Target Buyer's Guide · Scenario Shooting Targets: What They Are and How to Run One · Shooting Target Kill Zones: T-Box, Cardiac Box, A/C Zones · Law Enforcement Training Targets: From Qualification to Decision Training