A basic academy has one firearms block to turn people who may never have fired a handgun into officers who can pass a state qualification and make a sound decision under stress. The targets on the range decide a surprising amount of that. Bullseyes and silhouettes build the mechanics; photo-realistic scenario targets build the judgment. This guide walks an academy firearms block phase by phase and shows which law enforcement training targets each phase needs, how many to plan for, and how to keep a recruit class from memorizing the targets before graduation.
It is written for academy firearms coordinators and range masters. If you run a department's in-service program instead, our department in-service training guide covers the 12-month in-service calendar; the course-of-fire side lives in Police Qualification Targets.
Why academy targets are a different problem from in-service targets
An in-service program trains officers who already shoot. An academy trains recruits from zero, on a fixed calendar, with a hard pass/fail at the end. Three things follow from that:
- The class sees every target many times. A recruit class shoots several days a week for weeks. Any target used repeatedly in a decision drill stops being a decision and becomes a memory.
- Volume is front-loaded. Fundamentals weeks burn through simple targets fast; scenario weeks use fewer targets but need more variety.
- The record matters. Academy firearms files get read later. A block that can show recruits were tested on judgment, not just marksmanship, holds up better in review.
Phase 1 — Fundamentals: grip, sight picture, trigger
Targets: simple scoring targets and anatomical vital-zone targets.
Early weeks are about repeatable mechanics. Recruits need immediate, honest feedback on group size and placement, so the target should make a miss obvious and a hit easy to score. Anatomical targets earn a place here earlier than many academies use them: putting the cardiac box and the T-box on a human outline from day one teaches where rounds need to go, not just whether they landed in a ring. Our shot placement guide covers the zones in detail.
Planning note: this is the highest-volume phase. Patching with pasters stretches simple targets across several relays; scenario targets should not be spent here.
Phase 2 — Qualification preparation
Targets: the exact target your state's qualification course names.
Recruits should qualify on the same sheet in practice that they will see on test day — distances, timing and scoring zones all depend on it. That target is prescribed by your commission, not chosen, so this phase is mostly about quantity and repetition. The shooting target dimensions chart lays the common qualification sheets side by side if your class needs to understand why the test target looks the way it does.
Phase 3 — Reduced light and movement
Targets: full-size human outlines and scenario targets that read correctly under a flashlight.
Low-light work changes what a recruit can see. A target with a clear hand, a clear object in the hand and a believable posture teaches the recruit to identify before they engage — the habit that matters most once the lights go down. This is where photo-realistic printing starts to pay for itself: a weapon, a phone and a set of keys look different in a flashlight beam on a realistic print in a way they never will on a silhouette.
Phase 4 — Decision-making: shoot / no-shoot
Targets: threat and no-threat scenario targets, mixed in the same drill.
This is the phase scenario targets exist for. The point is not whether the recruit can hit the target; it is whether they correctly decide if they should. Build every drill with a mix:
- Threat targets — an armed subject presenting a weapon. See our bad guy shooting targets.
- No-threat targets — a person holding a phone, keys or nothing at all, hands visible. See the no-threat targets collection.
- Ambiguous targets — the subject is turning, the hand is partly hidden, a bystander is close. These are the ones that teach.
Our live-fire judgment drills article has drill layouts you can run as written.
The shoot no shoot targets collection holds threat, no-threat and ambiguous designs together, so one order can stock the whole phase.
Rule of thumb for academies: a recruit should never see the same scenario target twice in a graded decision drill. Rotate designs between relays and between weeks.
Phase 5 — Scenario blocks: the situations recruits will actually meet
Once the decision habit exists, put it in context. Most academy scenario blocks draw on five families:
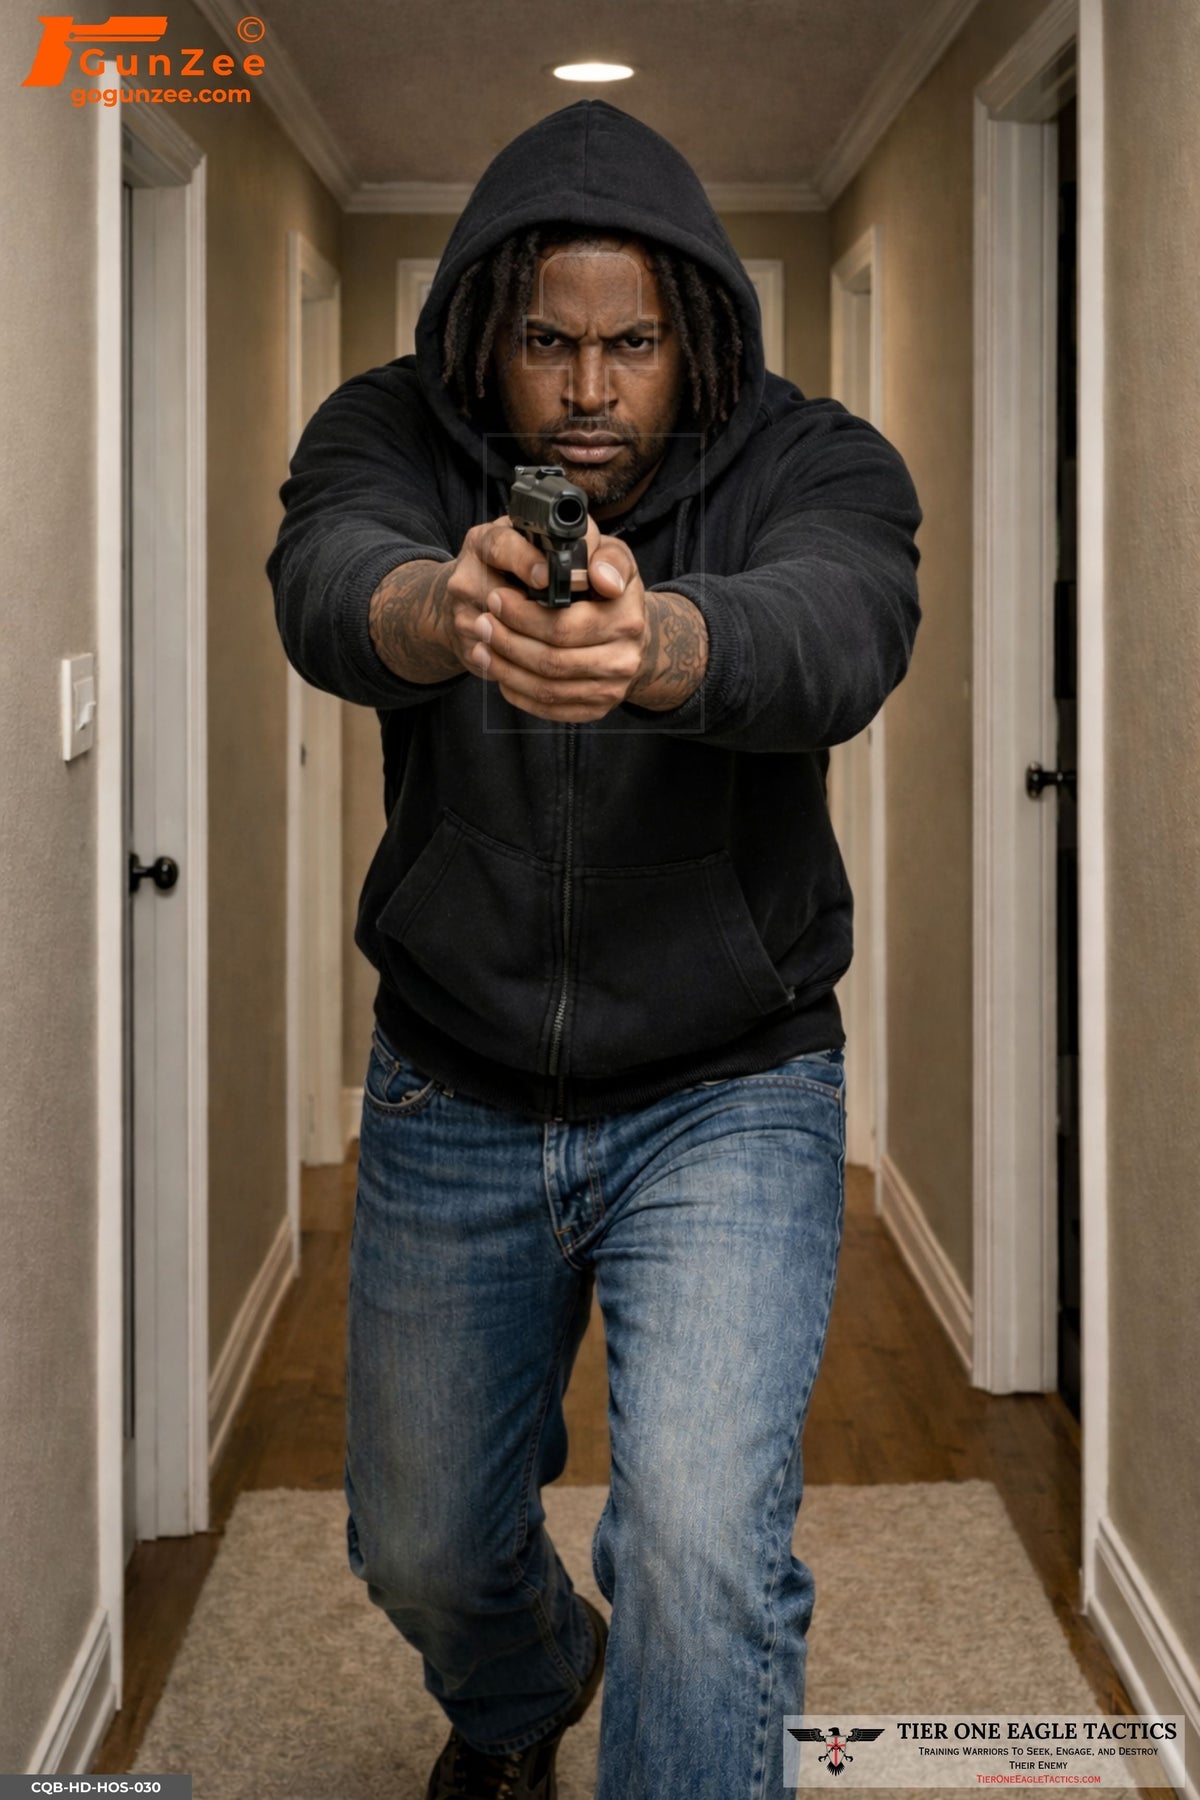
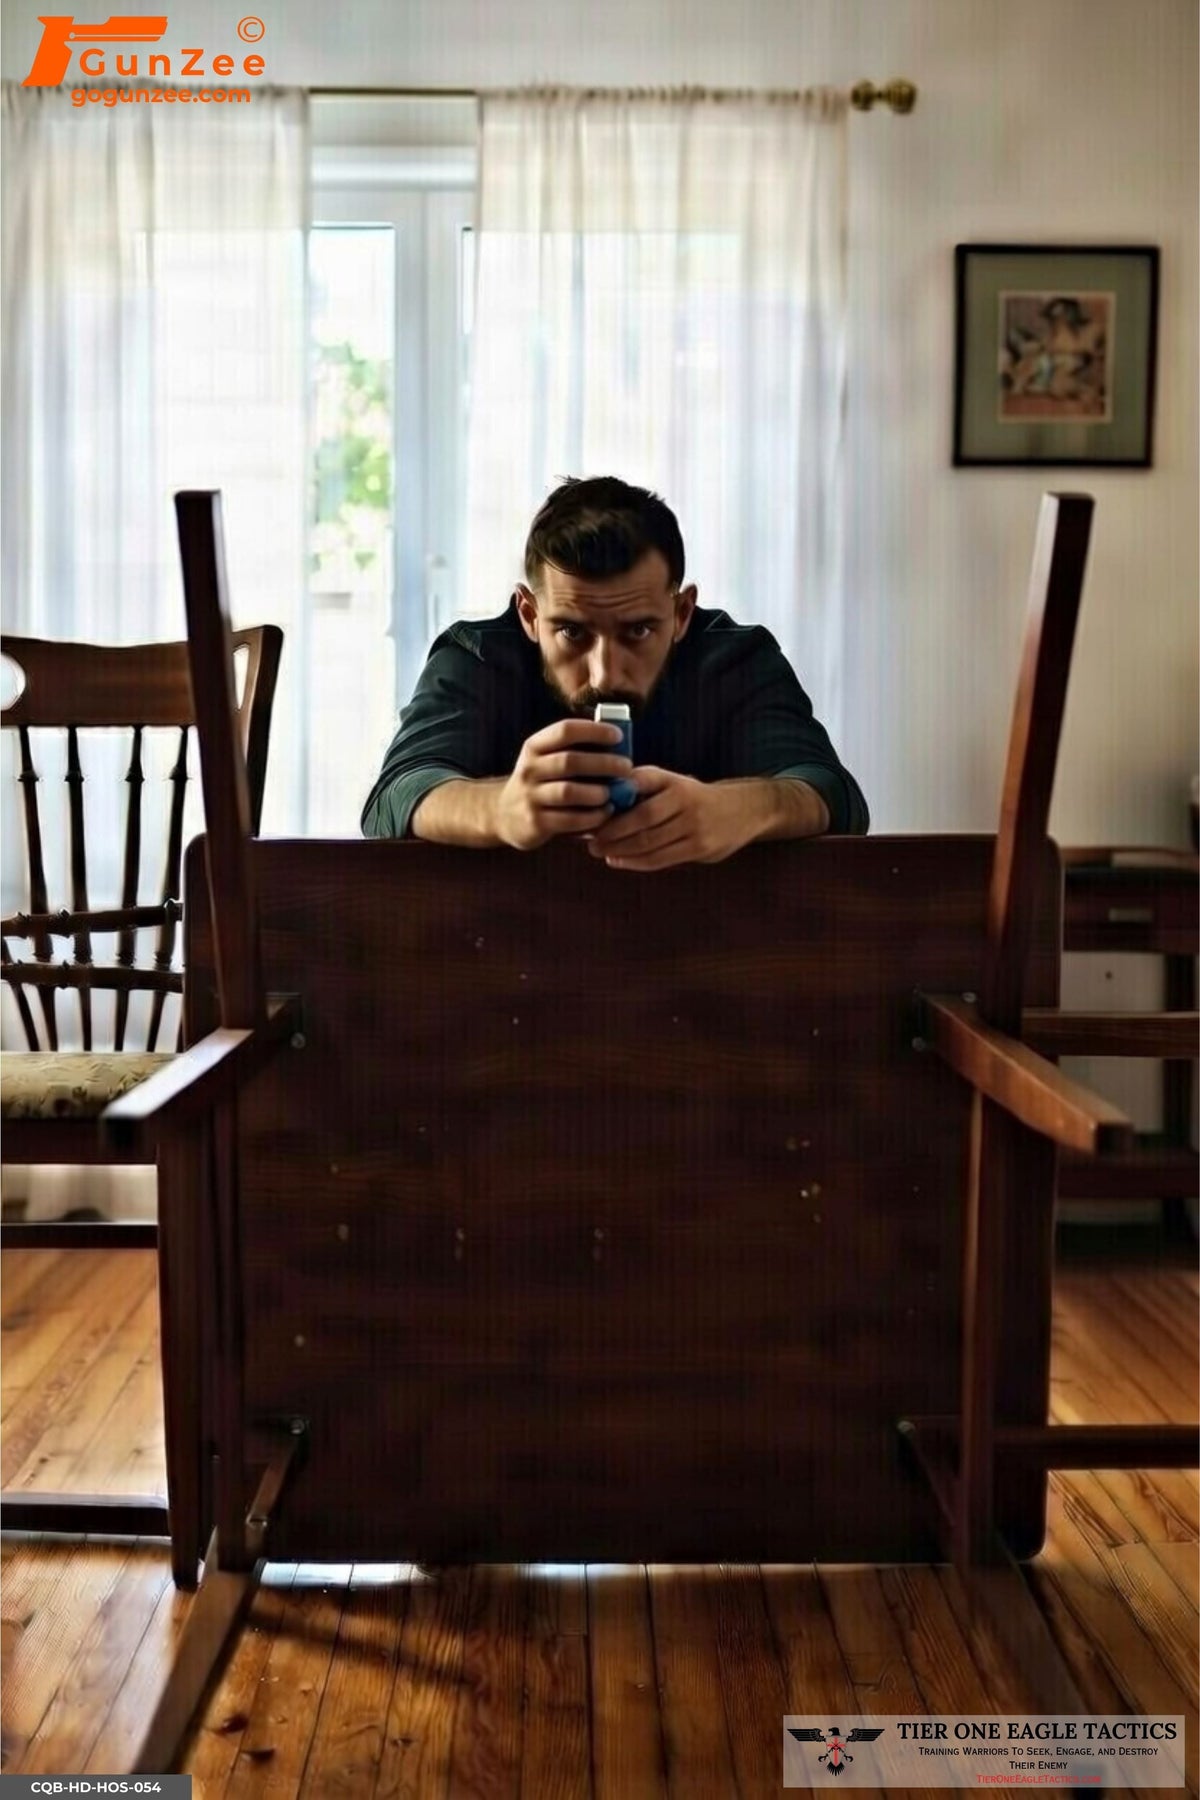
- Residential and close-quarters (CQB). Doorways, hallways, rooms, closets — the calls patrol officers answer every week. CQB and shoot house targets.
- Hostage and partial-exposure. A suspect behind a person, only part of the threat visible. This builds precision under consequence. Hostage shooting targets.
- Active threat in public places. Hallways, offices, stores, schools — movement toward the threat with bystanders in the picture. Active shooter training targets.
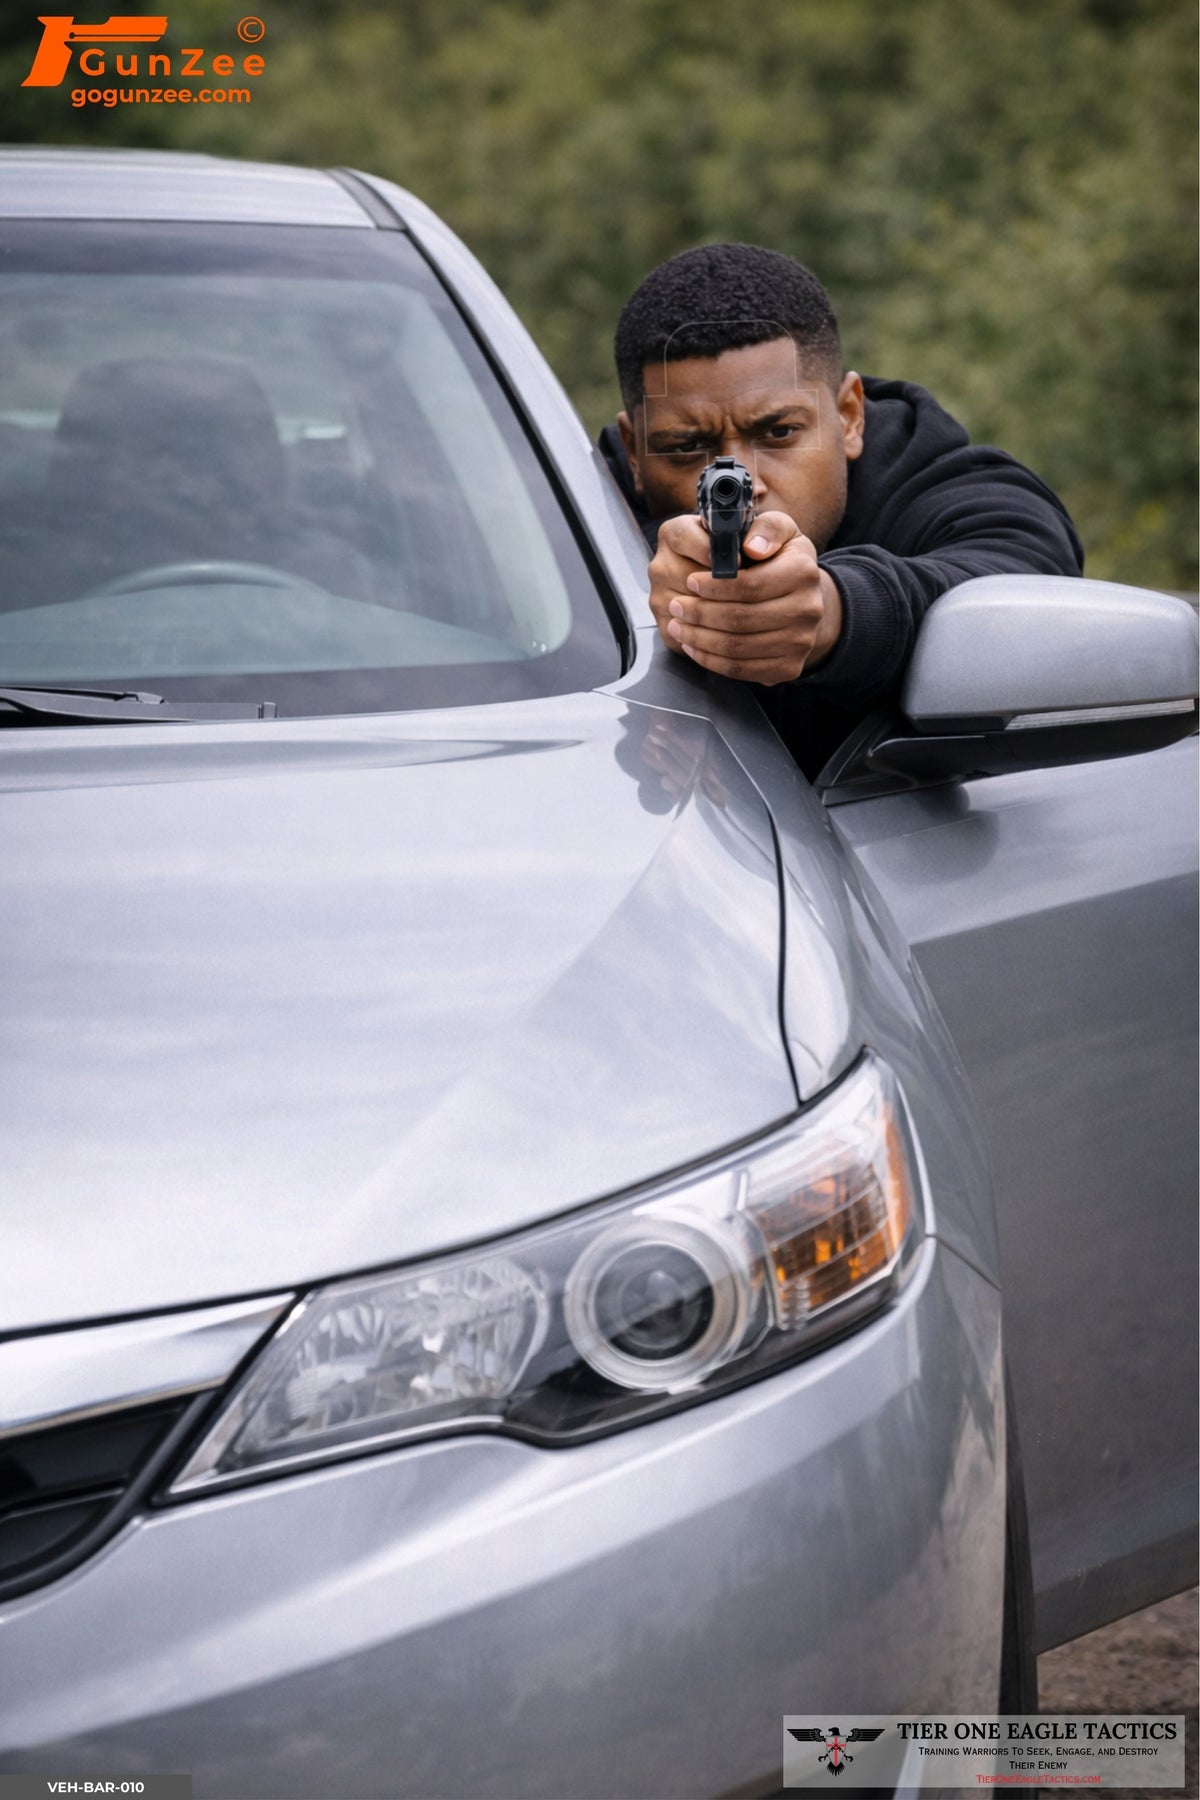
- Vehicle and barrier. Traffic stops and roadside contacts, the driver's door, the windshield. Vehicle and barrier targets.
- No-kill-zone scenarios. The subject is shown without printed scoring zones, so the recruit has to choose the aim point from anatomy alone. NKZ scenario targets.
The scenario-target guide explains how to brief and run a scenario so it is a test of judgment rather than a target-identification game.
Building the target plan for a recruit class
Rather than a fixed number, build the plan from your own block. For each phase:
- List the drills and how many targets each drill uses per recruit or per lane.
- Multiply by class size and relays.
- Divide by how many relays a target survives — simple targets patched with pasters last several relays; a scenario target used for a graded decision is usually done after one class sees it.
- Add variety, not just volume, for phases 4 and 5. The count that matters there is different designs, because repeats defeat the purpose.
Two practical points:
- Targets are sold in sets of 5 per design. A set of 5 covers one design across five lanes, or one lane across five relays. For decision phases, buying more designs in sets of 5 beats buying more copies of a few designs.
- Hold back a reserve set of designs the class has never seen for the final graded scenario day.
How the scenario targets are built
GunZee scenario targets are 24" × 36" and photo-realistic, so the hands, the object in the hand and the posture read the way they would on a real call. Scored designs carry the cardiac box and T-box (see kill zones explained); NKZ designs leave the zones off on purpose, and a matte-finish line cuts glare under range lights and flashlights.
Buying for an academy
- Start with a pack, then fill the gaps. Training packs put a ready mix of scenario families in one order; add single designs in sets of 5 where your block needs more depth.
- Tax-exempt agencies and academies: set up an account on the site, let us know when it's live, and we'll mark it tax-exempt. After that you order on the site like anyone else.
- Not sure what fits your block? Email us your phases and class size and we'll suggest a mix.
Frequently asked questions
What targets do police academies use?
Most academies use three kinds: simple scoring or anatomical targets for fundamentals, the state-prescribed qualification target for qualification practice, and scenario (shoot / no-shoot) targets for decision-making. The mix shifts from mostly simple targets early in the block to mostly scenario targets near the end.
Can scenario targets be used for qualification?
Usually not. Qualification courses name a specific target, so recruits should practice and test on that sheet. Scenario targets are for the judgment training that qualification does not measure.
How do I stop recruits from memorizing scenario targets?
Rotate designs between relays and between weeks, never repeat a design in a graded decision drill, and keep a reserve of unseen designs for the final scenario day. More designs in sets of 5 beats more copies of a few.
Are photo-realistic targets worth it for an academy?
For decision phases, yes. Identifying a weapon versus a phone or keys is the skill being trained, and that only works if the object in the hand looks real — especially under a flashlight.
What size are GunZee scenario targets?
24" × 36", photo-realistic, sold in sets of 5 per design. Matte-finish versions are available for many designs.
Can our academy order tax-exempt?
Yes. Set up an account on the site, tell us when it's live, and we'll mark it tax-exempt so you can order directly.
Related reading
- Building a department in-service target program
- Police Qualification Targets: Courses of Fire, Target Types, and Scoring
- Live-Fire Judgment Drills
- What Makes a Target a Scenario
- Close-Quarters Training: A Buyer's Guide to Room-Entry Targets
Browse all law enforcement training targets.