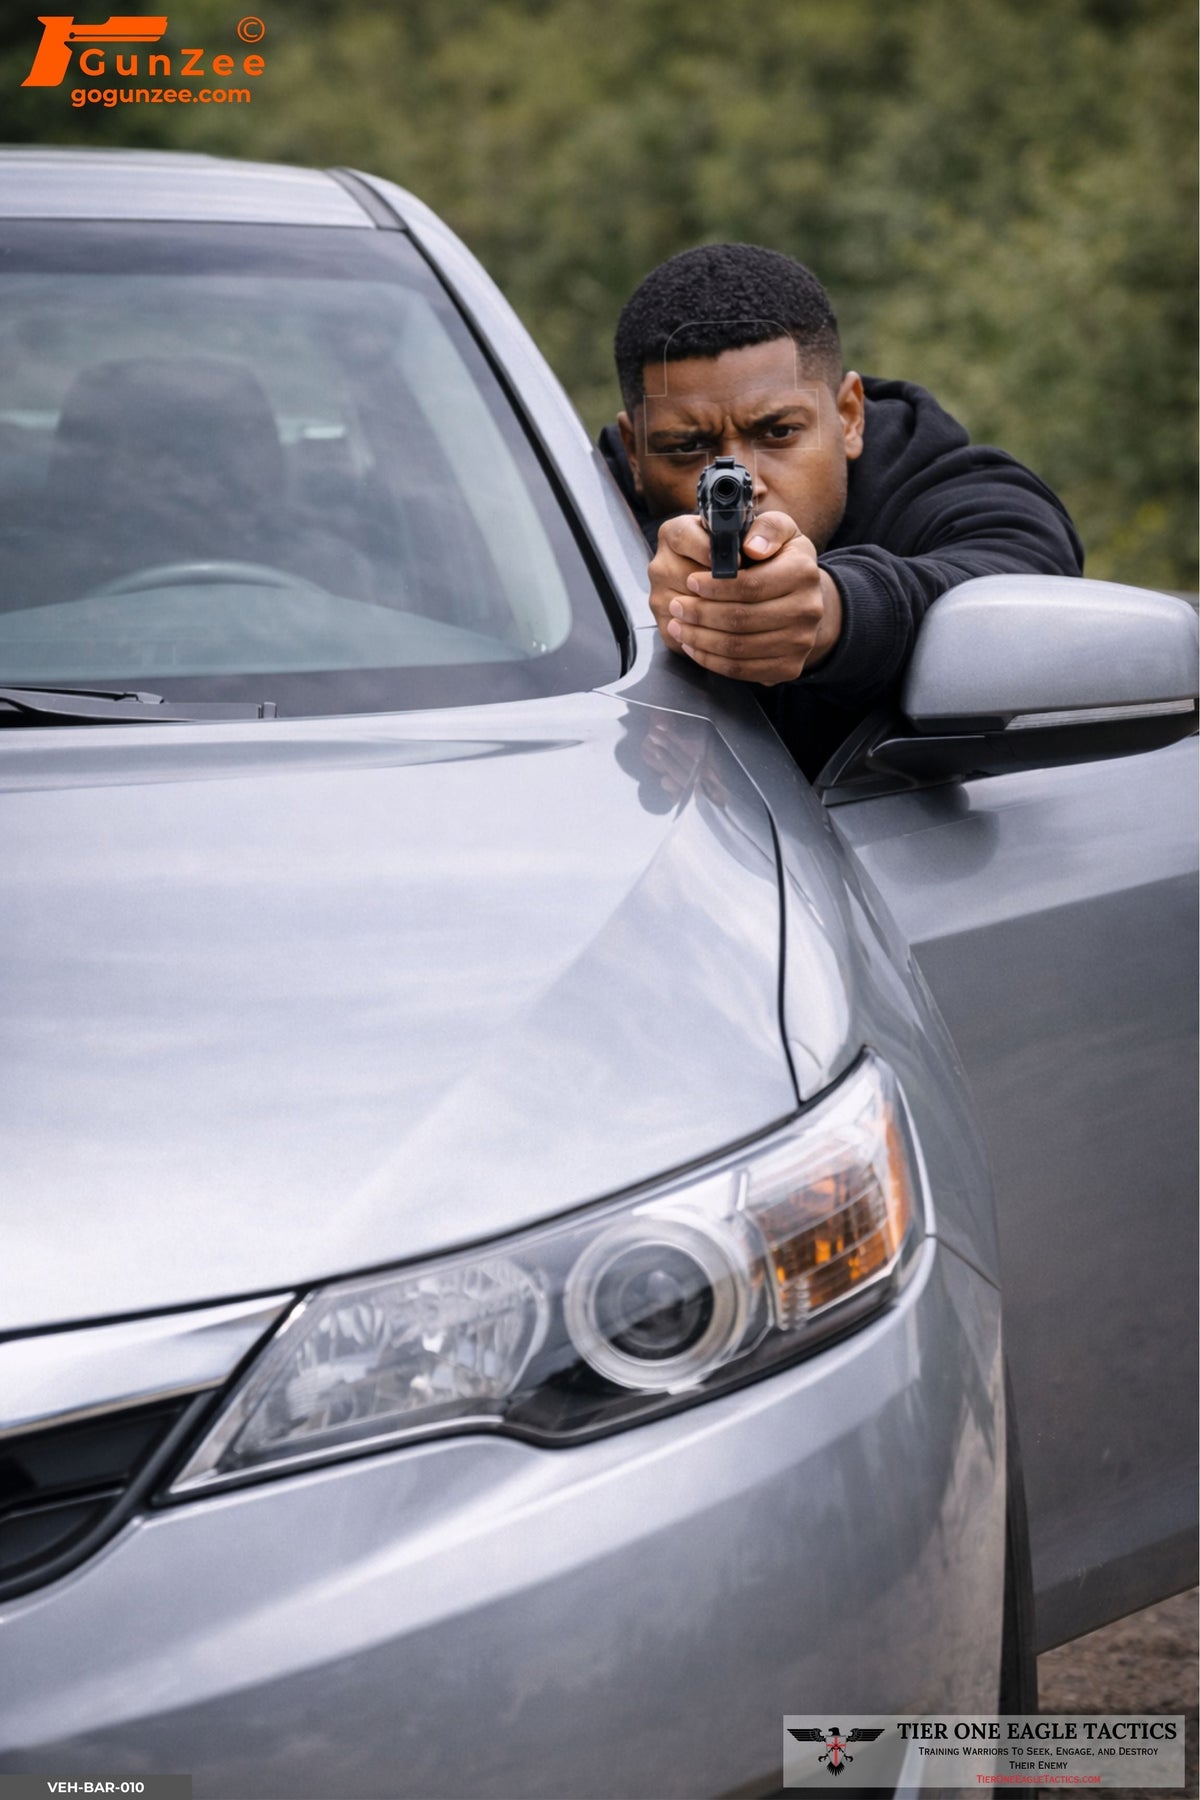
In a decision drill, the shot is the easy part. The hard part is the hold: the moment a shooter with a gun up, under time pressure, correctly decides not to fire. Target libraries are often built from the threat side first, and the unarmed figures get added at the end, often one or two designs used over and over. This guide is a buyer's checklist for the other half of the rack: five kinds of unarmed scene, what each one trains, real examples, and a quick way to find the gaps in what you already stock.
It is written for law enforcement firearms instructors, academy staff, range operators and serious civilian shooters who already run decision drills. For drill layouts, shoot-to-hold ratios and scoring, see our decision drills guide. For the cues that mark a subject as armed, see training to identify armed versus unarmed subjects. If you are starting a library from scratch, our no shoot targets collection puts armed and unarmed scenes side by side in one place.
Why the unarmed side decides whether the drill works
A lineup made only of threats teaches one answer: fire. Adding unarmed targets fixes that, but only if they are varied. If every hold in the rotation is the same hands-up figure, the shooter learns a narrow rule ("hands up means hold") and nothing else. The street does not give out that rule. People hold phones, raise keys, reach for medication, flash a badge, or freeze in fear. Each of those is a different reason to hold, and each needs its own scene.
Officers are taught to watch the hands first, and every scene below is a hands problem. The face and posture add pressure; the hands carry the answer. That is why photo-realistic printing matters on this side of the rack: a phone, an inhaler and a pistol only look different on the target if they are printed at full detail, life-size, the way the shooter would see them.
The five unarmed scenes to stock
1. An everyday object that reads like a weapon
This is the classic mistaken-object problem. A dark phone, a TV remote or a set of keys, held at chest height and pointed roughly toward the shooter, has the size and outline of a compact handgun at a glance. The scene trains object identification: the shooter has to confirm what is in the hand, not react to its shape.
The Interior Doorway Male With Phone target is a good example. An older man steps into a doorway inside a home, half hidden by the door, holding a phone to his ear. The doorway compresses the decision, and the dark phone near his face is exactly the kind of object that gets misread under stress.

2. Threatening posture, harmless hands
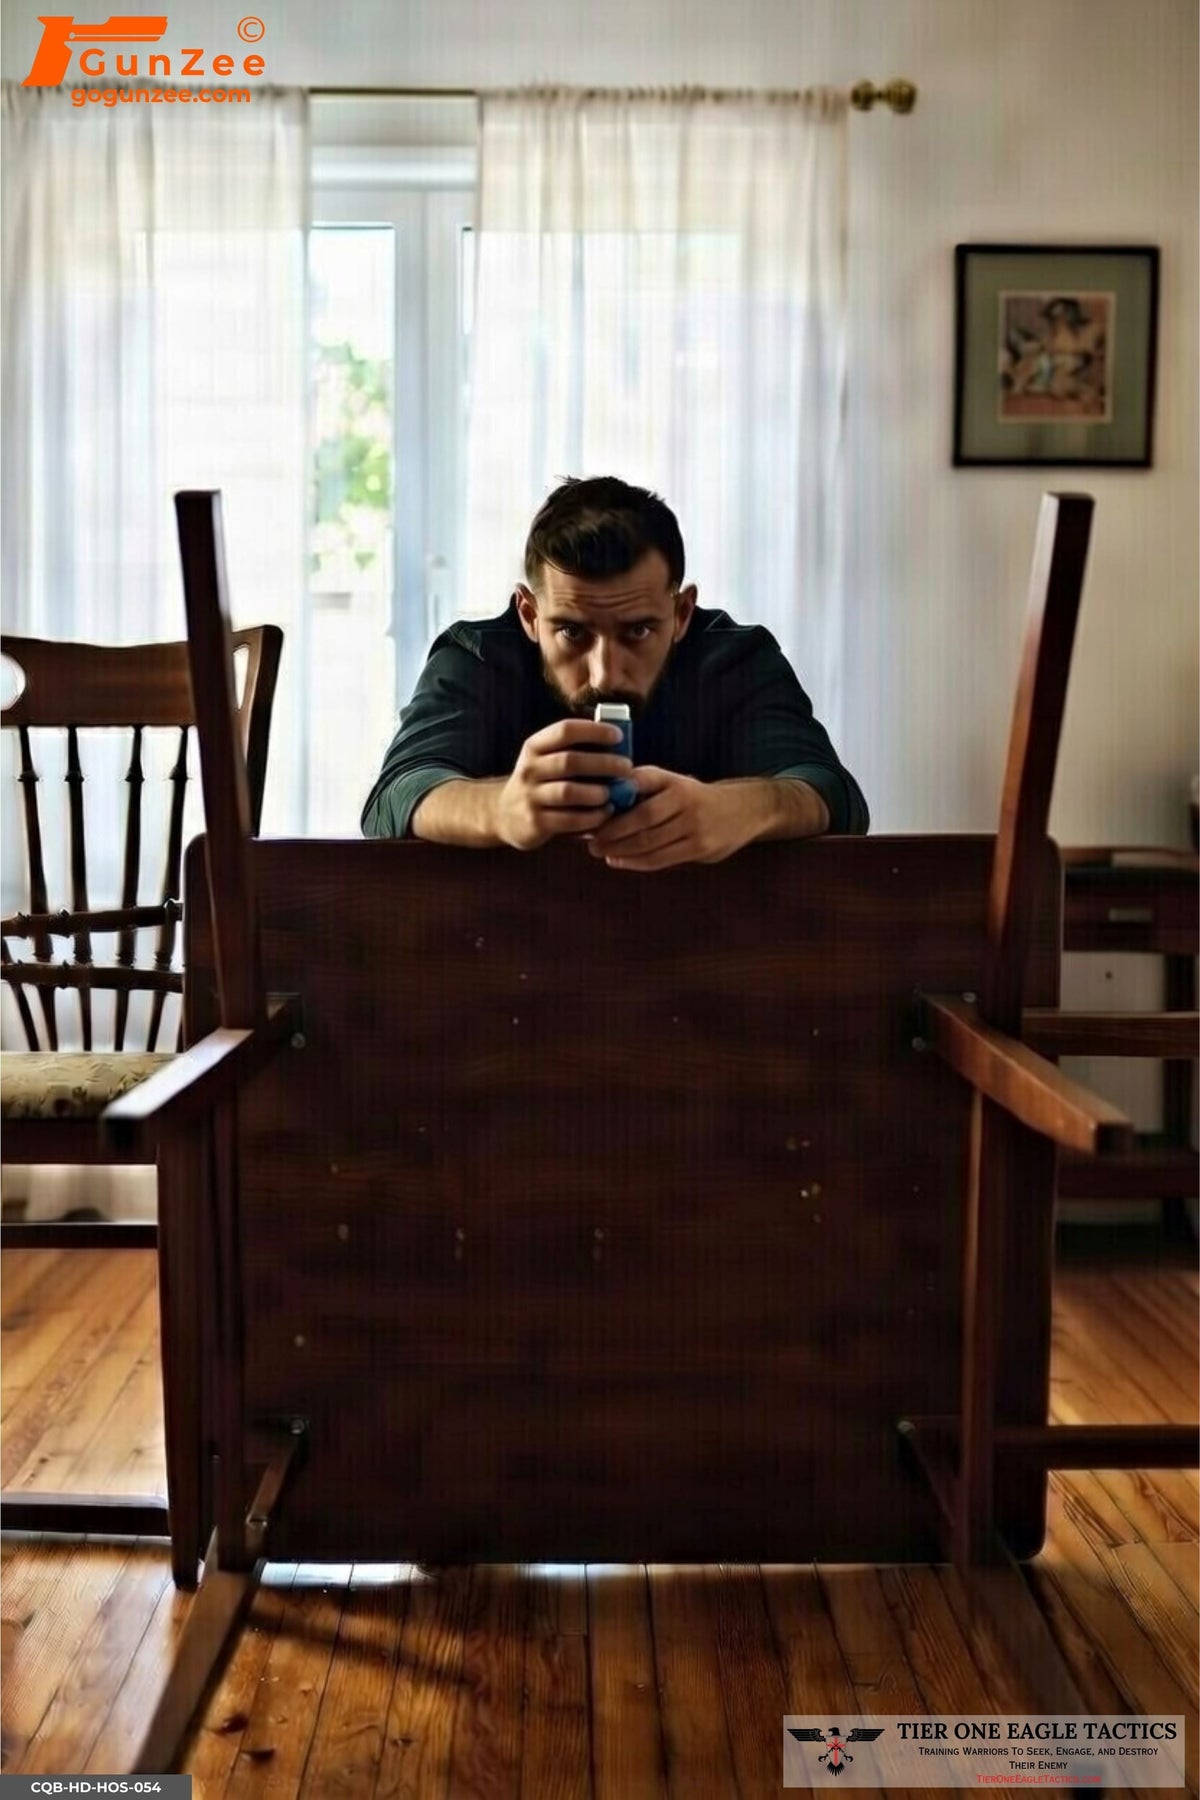
Some subjects do almost everything an armed threat would do: they get low, use furniture as concealment, lean forward and stare at the shooter. These scenes train the shooter to separate posture from intent. The body says danger; the hands say otherwise.
The Dining Room Table Barricade Male With Inhaler target puts a man behind a flipped dining table, eyes on the shooter, both hands up near his face. The object in his hands is an inhaler. The correct answer is to hold and keep assessing.
3. Compliance and surrender
Hands up, palms open, a subject who has stopped moving. It is the most familiar hold in the set, and it still earns its place: it trains the shooter to recognize compliance quickly instead of staying on the trigger out of momentum, and to confirm the hands are actually empty.
The Bedroom Surrender Gesture target is part of our NKZ (No Kill Zone) line: no scoring boxes printed on the figure, on matte, no-glare paper. With no printed zones, nothing on the sheet hints at what the "right" answer is.
4. An armed person who is not the threat
This scene is easy to leave out of a library, and it is one of the most important. A gun is visible, and the person holding it is a plainclothes officer, an off-duty officer or another lawful actor. The scene trains the hardest distinction in the set: armed is not the same as hostile. The shooter has to read the badge, the muzzle direction and the body language before deciding.
The Plainclothes Officer Badge Reveal target shows a man in street clothes holding a pistol low in one hand and a badge raised in the other, outdoors, with no uniform or marked car in sight.

5. Bystanders and the vulnerable
Children, a parent holding a baby, a hostage, a person cowering under a desk, a wounded man reaching for help. These scenes put a non-combatant in front of the shooter at the worst possible moment, often in a setting where a threat is expected, such as an office during an active-threat call. They train the shooter to identify non-combatants fast and keep the muzzle off them while still searching for the real threat. Our NKZ line includes several of these scenes, such as the office cubicle and kitchen settings.
Pair each hold with a threat from the same setting
One mistake quietly gives the answer away: unarmed scenes set in one kind of place and threats set in another. If every living room is a hold and every parking lot is a shoot, the shooter learns to read the background instead of the hands. Pair them instead. Put a living-room hold beside a living-room threat, a doorway phone beside a doorway pistol, a public hold beside a public threat. Our threat targets collection makes it easy to match settings. When the room can't decide for the shooter, the hands have to.
How to audit the targets you already have
Lay your stock out on a table and work through it:
- Pull every unarmed target you own and sort it into the five groups above.
- Look for empty groups. Group 4 is the easiest to overlook. An empty group is a decision your shooters have never practiced.
- Count designs, not copies. A group with one design gets memorized within a few sessions. Two or three designs per group keeps the shooter reading the scene rather than recalling it.
- Check the object at your real distance and light. Stand where the shooter stands. If the phone or inhaler can't be identified from the line under your range lighting or a weapon light, the scene trains guessing, not discrimination. Since July 2026 every GunZee design we reprint goes on matte, no-glare paper, and the whole NKZ line is matte today.
- Fill the gaps with sets of five. GunZee targets are 24" x 36" and sold in sets of 5 per design at $2.25 a target, with volume discounts starting at 50 targets. Five copies of one design lets a shooter fail a scene, debrief it and run it again cold later in the session.
A starter unarmed set of two designs in each of the five groups is 10 designs, or 50 targets. If you would rather start from a ready-made mix, the No-Threat 95-target pack holds 19 unarmed and ambiguous designs, 5 of each, including phone, wallet, inhaler and surrender scenes. Either way, the order minimum is $60 per cart.
Frequently asked questions
What is an unarmed target?
It is a scenario target showing a person who should not be shot: someone holding a harmless object, complying, surrendering, identifying themselves as an officer, or simply standing in the line of fire. It is mixed with threat targets so the shooter has to decide on every presentation.
How many unarmed designs does a training library need?
Variety matters more than count. Two or three designs in each of the five groups (mistaken object, threatening posture, surrender, armed non-threat, bystander) is a solid start, with more added as shooters begin to recognize them.
Why include an armed person who is not a threat?
Because "a gun is visible" is not the same decision as "this person is a threat." A plainclothes or off-duty officer may have a gun in hand while identifying themselves, and shooters need practice reading a badge, the muzzle direction and posture before acting.
Do unarmed targets need scoring zones?
No. On a hold, any hit is the error. Some trainers prefer targets with no printed zones, such as the NKZ line, so nothing on the sheet suggests an answer.
What size are GunZee targets?
24" x 36", photo-realistic, made in the USA and sold in sets of 5 per design.