Most shooters cycle through three or four target types and stop. A complete defensive training stack uses three distinct layers — silhouette, anatomical, and scenario — and each layer builds a skill the others cannot. The shooter who trains only on silhouettes builds groups. The shooter who trains only on anatomical builds placement. The shooter who trains only on scenarios builds reads. The shooter who builds a library covering all three builds a defensive shooter.
This is the breakdown of what each target type does, when to use it, and where each one earns its place in a serious training rotation.

Layer 1: silhouette and bullseye — the mechanical foundation
The B-27, the IDPA target, the IPSC, the simple bullseye paper — these are the workhorses of mechanical fundamentals training. They are not defensive targets in any meaningful sense, but they exist for a reason and they belong in the rotation. The reason is calibration.
Silhouette and bullseye targets remove every variable except shot delivery. There is no decision to make. No discrimination. No anatomy to read. The only question is whether the round lands where the shooter intended. That isolation is what makes them useful — they expose mechanical errors that more complex targets hide.
What silhouette and bullseye train:
- Grip consistency under recoil
- Stance stability across multi-round strings
- Sight alignment and sight picture under speed
- Trigger control without anticipation
- Group calibration at different distances
What they do not train:
- Shot placement against real anatomy (the bullseye is not where the heart is)
- Threat discrimination
- Decision-making under stress
- Environmental context
- The visual reads that precede the shot in real engagements
The error most shooters make is staying at this layer too long. Five years of bullseye work produces tight groups at 7 yards and zero defensive capability beyond that. The mechanical foundation is necessary; it is not sufficient.
For full coverage of why mechanical foundation is necessary but insufficient for defensive shooting, see Anatomical Targets vs. Bullseye: Why Shot Placement Saves Lives.
Layer 2: anatomical targets — the placement layer
Once groups stabilize on a bullseye — roughly two inches at seven yards — the next layer is anatomical. This is where the shooter shifts from "hit center mass" to "hit the cardiac box, the cranial T-box, and the pelvic girdle." The viable hit zones are smaller and more specifically placed than silhouette zones; the precision demand climbs; the gap between drill marksmanship and defensive marksmanship reveals itself.
What anatomical targets train:
- Cardiac box placement at distance — the default defensive shot
- Cranial T-box precision — the answer when cardiac is denied
- Pelvic girdle accuracy — the third zone most shooters skip
- Angle-aware placement (semi-frontal, semi-profile)
- The shift between cardiac and T-box as the threat geometry changes
The full library of anatomical targets covers every major engagement geometry — face-on handgun, semi-frontal, semi-profile, rifle, side-profile rifle, hostage-shield, and vehicle-window engagement. The Anatomical Full-System Vital Zone target is the foundational reference. The Anatomical Frontal Handgun Threat target is the workhorse for handgun training. The Anatomical Hostage Shield target is where T-box precision is built.
The full breakdown of every anatomical target and what each one trains is in Human Anatomy Shooting Targets: A Complete Training Guide. The cardiac-to-T-box transition decision specifically is covered in Cardiac Box vs. T-Box: When to Shift Your Aim Mid-Engagement.
Anatomical training is the bridge from "I can shoot a tight group" to "I can deliver a stopping shot to the specific anatomy that ends the fight." Most CCW holders should be spending the largest share of their training time at this layer.
Layer 3: scenario targets — the decision layer
Anatomical training assumes the decision to shoot has already been made. Scenario training trains the decision itself.
Scenario targets show the threat in a context — a hallway, a bedroom doorway, a vehicle, a public-space encounter, a hostage geometry — with environmental cues, partial cover, multiple actors, ambiguous weapons, and decision pressure stacked on top of the shot itself. The shooter has to read the picture before taking the shot, and the read varies in difficulty depending on the target.
The full library of GunZee scenario targets spans four engagement environments:
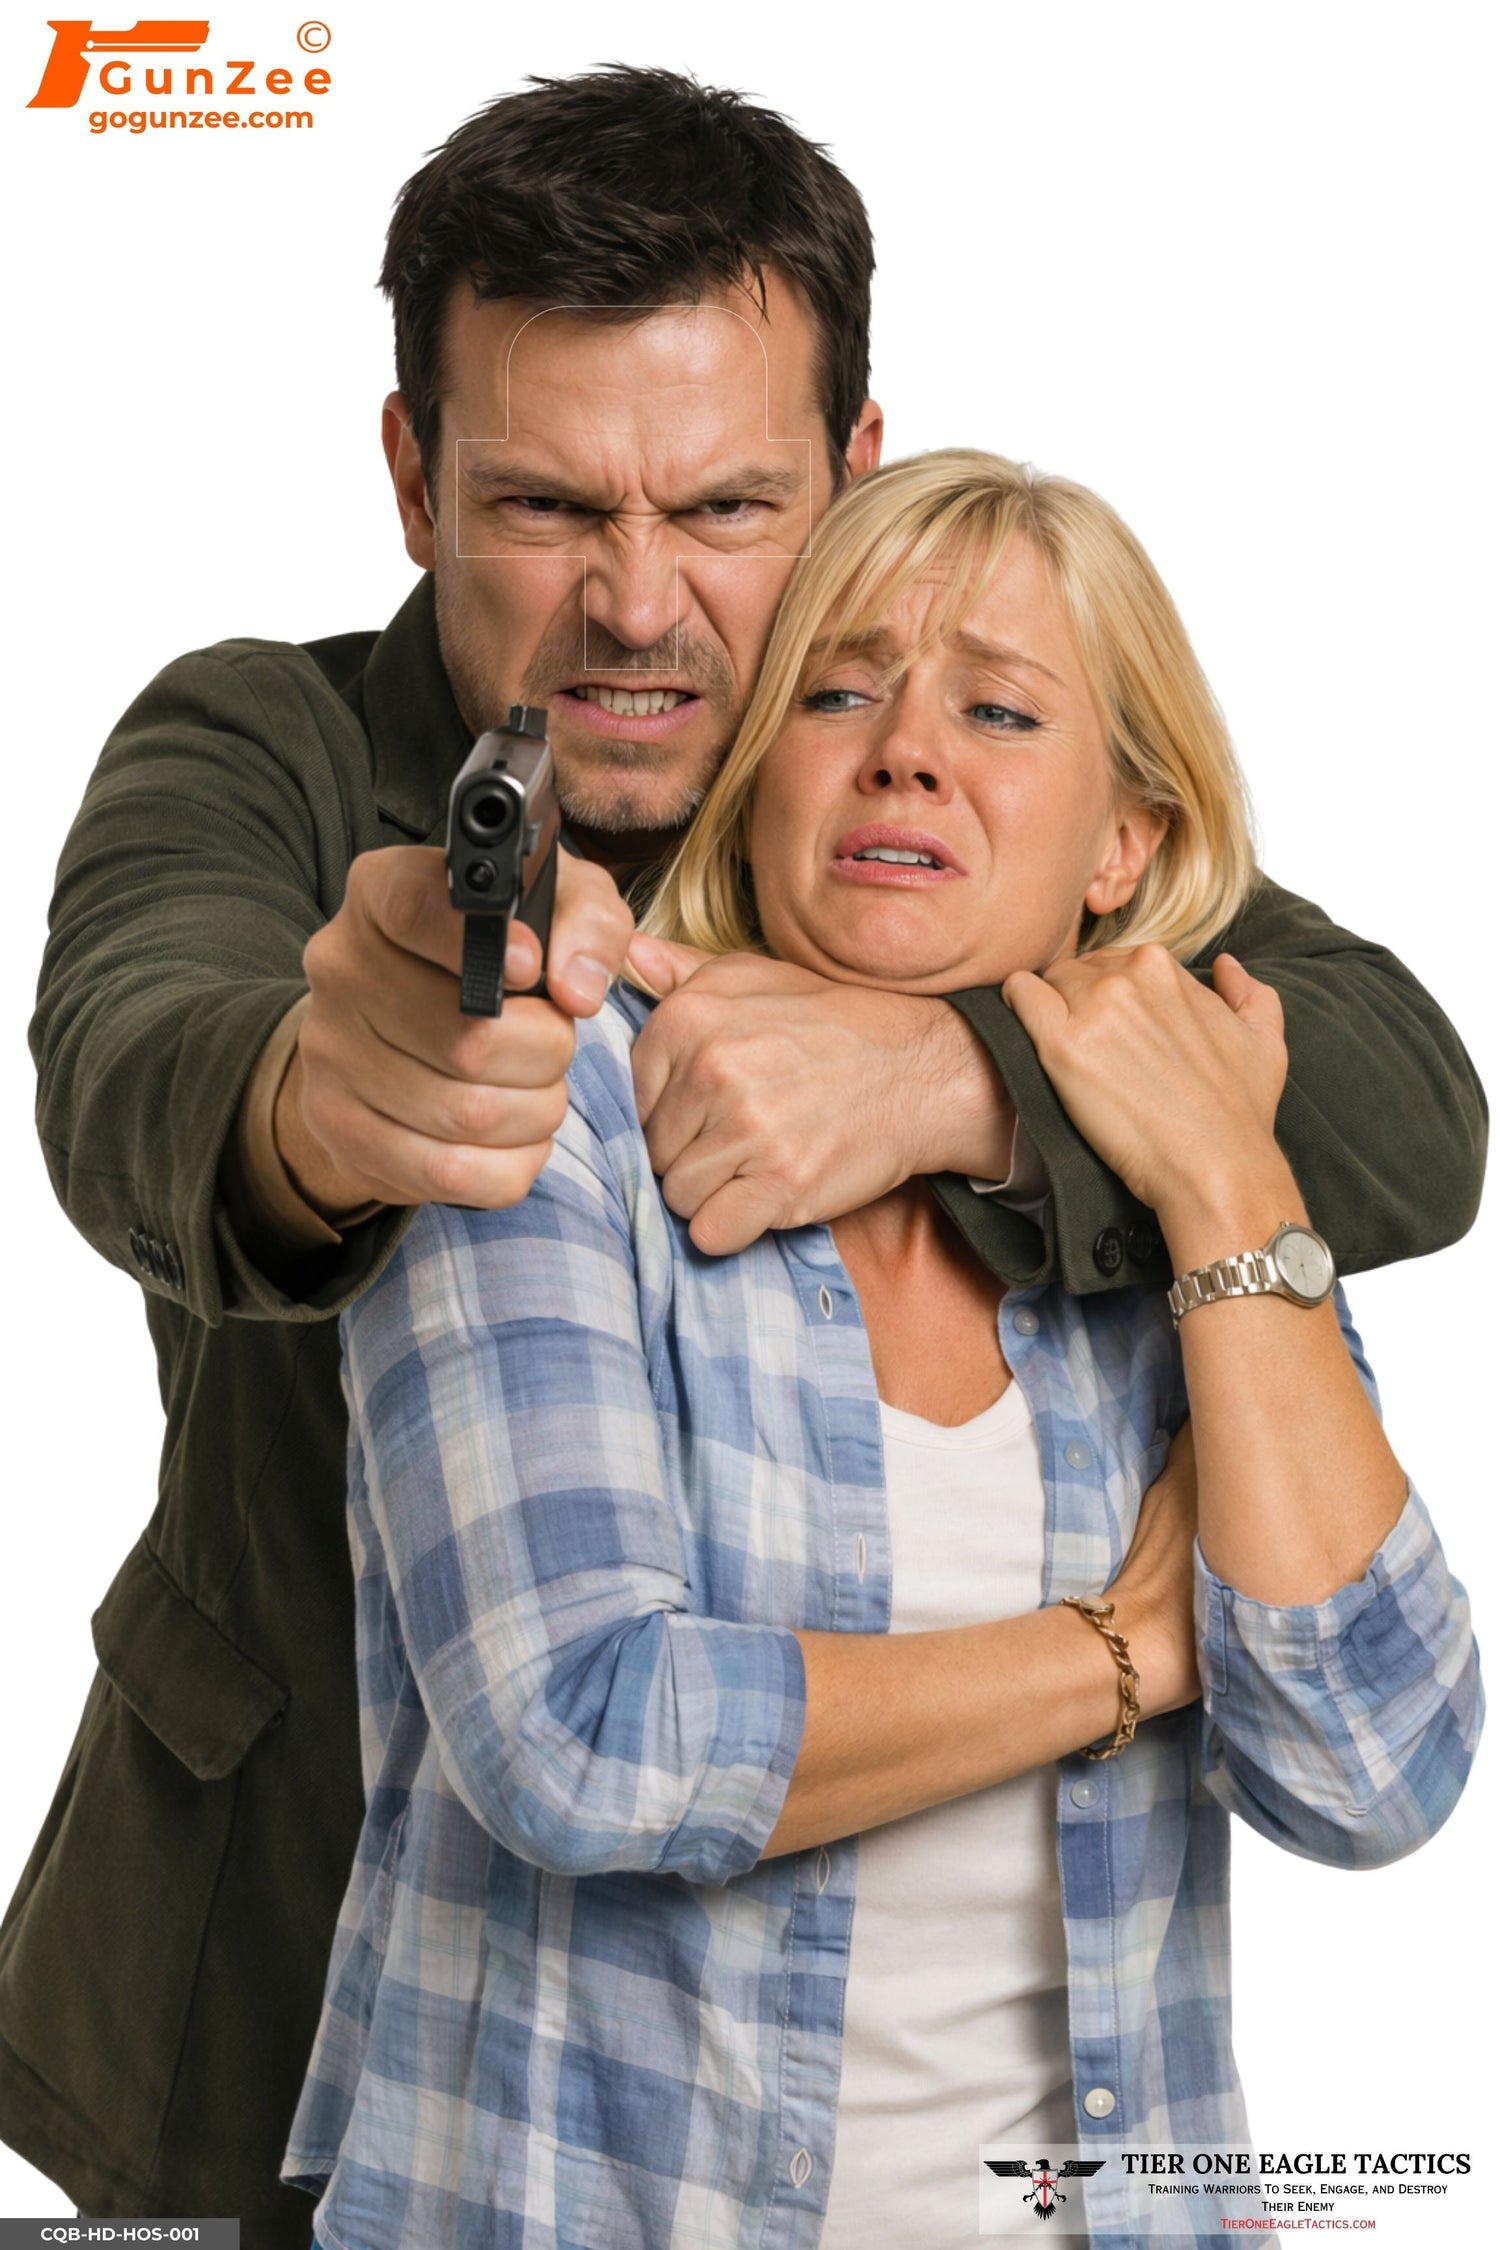
CQB and home defense. Doorway processing, hallway engagement, hostage proximity, multi-threat interiors. The CQB Hostage Forward Weapon Presentation target is the top-selling CQB scenario. The Corridor Hostage Control with Rear Gunman target adds environmental complexity and multi-actor sequencing. The full collection lives at Home Defense, CQB & Hostage Scenarios.
Public defense and threat discrimination. Crowded streets, parking lots, retail aisles, plainclothes-officer encounters, low-light scenarios. The Urban Street Two-Man Armed Confrontation target, the Dual-Threat Mall Corridor Assault target, and the Verbal Aggressor No Weapon Visible target are the discrimination-heavy entries. The full collection lives at Public & Everyday Self-Defense.
Vehicle and barrier engagements. Seated engagements, glass deflection, partial barrier exposure, vehicle-cover discipline. Full collection at Vehicle & Barrier.
Hostage-specific scenarios. Female-hostage geometry, child-shield variants, multi-actor hostage engagements. Covered in detail in Female and Hostage-Shield Targets: Why Gender-Specific Scenarios Matter.
What scenario targets train:
- Threat identification under realistic conditions
- Weapon recognition (firearm vs. knife vs. no weapon)
- Multi-actor sequencing
- Environmental awareness during engagement
- Shoot/no-shoot decision-making
- Application of anatomical placement under decision pressure
The decision-layer skill is fully covered in Shoot or No-Shoot: Training to Identify Armed vs. Unarmed Subjects and in the pillar 10 Defensive Shooting Scenarios Every CCW Holder Should Train For.
How to build a starter library across all three layers
A CCW holder who is just establishing a serious training rotation does not need fifty targets. They need a balanced library. A practical starter:
- Mechanical layer: Bulk paper (bullseye or B-27) for foundation work — purchased in volume from any range supplier or printed at home.
- Anatomical layer: The Anatomical Full-System Vital Zone target as the reference, the Anatomical Frontal Handgun Threat target for context-free handgun work, and the Anatomical Hostage Shield target for T-box precision.
- Scenario layer: Two or three scenario targets matching the shooter's realistic risk profile — home defender adds CQB; public-defense focused adds parking-lot and crowded-street; rural defender adds vehicle and barrier.
That is a complete starter library. Roughly six to eight targets, three distinct layers, every range session has options.
Volume training and the curation problem
Once a shooter is committed to anatomical and scenario training, the next question is volume. A single target lasts about one range session for a serious shooter — and curating which scenarios to buy each month is a meaningful time investment.
Bundled training packs solve this. The Our 50 Best Sellers training pack consolidates the 50 most-shipped scenario targets across all four engagement environments into one purchase. The mix mirrors how serious shooters actually train — 21 CQB scenarios, 19 public-defense and threat-discrimination scenarios, 8 anatomical targets, and 2 vehicle-barrier engagements. For shooters who want a curated rotation without the per-session decision overhead, this is the most efficient stock-up.
Departments and academies running structured curricula benefit from the larger rotation packs in the Training Packs collection — purpose-built bundles for high-volume programs.
Where each target type earns its keep
The rotation that produces a complete defensive shooter is not equal time across all three layers. It is weighted toward the layer the shooter has not built yet.
New shooters spend most of their time on the mechanical layer. Intermediate shooters with reliable groups spend most of their time on the anatomical layer. Advanced shooters with reliable anatomical placement spend most of their time on the scenario layer — because the decision is the gap that closes last and the gap that matters most under stress.
Most shooters skip layer two entirely and try to jump from layer one to layer three. The cost is real: scenario decisions made with bullseye placement habits produce hits that score in a drill and miss the cardiac box in reality.
Build all three. In sequence. The library lives on the shelf for years; the skill lives in the shooter for life.
→ BROWSE THE FULL SHOOTING TARGETS CATALOG
Frequently asked questions
What types of shooting targets are used for defensive training?
Three primary types: silhouette/bullseye for mechanical fundamentals, anatomical for shot placement against real human anatomy, and scenario targets for decision-making and threat discrimination in realistic environments. A complete defensive shooter rotates between all three.
Are bullseye targets useful for defensive shooting practice?
Yes — for the mechanical foundation. Grip, stance, sight alignment, and trigger control are best built on a target where the scoring is unambiguous. Bullseye is a starting point and a calibration tool, not a finishing target. Defensive performance lives in the layers above it.
When should a shooter start using anatomical targets?
Once basic groups are stable — roughly two inches at seven yards on a bullseye. Below that, the shooter is still building mechanics. Above that, anatomical targets are the next layer and the bridge between marksmanship and scenario decision-making.
What is a scenario shooting target?
A scenario target shows the threat in a realistic context — a hallway, a bedroom doorway, a vehicle, a public-space encounter — with environmental cues, decision pressure, and discrimination challenges layered on top of the shot itself. Scenario targets train the decision before the shot, not just the placement.
How many targets does a CCW holder need in a training library?
A starting library covers all three layers — one solid anatomical reference target, two or three scenario targets matching realistic risk profile, and bulk silhouette or paper for repetition volume. Bundled training packs like the Our 50 Best Sellers pack consolidate the most-used scenarios into a single purchase and remove the curation problem for first-time buyers.
Do you need different targets for handgun and rifle?
The anatomy is the same. The threat presentation, engagement distance, and terminal performance differ. Anatomical Rifle Threat targets show a long-gun engagement context; anatomical handgun targets show closer-range engagements. Train both for the engagements that match real-world risk profile.

