Picking the right target sounds easy until you are standing in front of a wall of options. Bullseyes, silhouettes, anatomical overlays, photo style scenarios, different sizes, different pack counts, different layouts. At that point, most people just grab something random and hope it works.
The problem is that random targets usually create random practice.
If you want range time that actually moves the needle, how to choose shooting targets comes down to one simple idea: match the target to the skill you are training, then keep it consistent long enough to measure improvement.
This guide will help you choose targets with purpose, whether you are brand new, getting more serious, or training for performance. No complicated jargon. Just practical selection rules you can use every time you pack your range bag.
Start with one question: what are you trying to improve today?
Targets are feedback tools. The “right_toggle” is the one that gives you clear feedback on the exact thing you are working on.
Before you buy anything, pick your main goal for this session:
Accuracy and tight groups
Speed while staying accountable
Transitions between aim points
Decision making and visual discipline
Realism and context without losing control
When you know the goal, the target choice gets obvious.
If you want to browse a range of options by category, start with the GunZee Shooting Targets collection and choose the layout that best supports your goal: https://gogunzee.com/collections/targets
Skill level matters because your target should not lie to you
A good target is honest. It makes your misses obvious and your progress measurable. But if you pick a target that is too “advanced” for where you are right now, it can either frustrate you or give you sloppy feedback.
Here is the simple approach:
Beginners need targets that teach fundamentals and reward consistency
Intermediate shooters need targets that expose patterns under speed
Advanced shooters need targets that pressure discipline and decision making
Let’s break that down.
Beginner: choose targets that make the basics crystal clear
If you are still building a solid grip, clean trigger press, and steady sight picture, your target should do two jobs:
Give you a clear aiming point
Make hits easy to see and compare
For most beginners, the best targets for practice are simple paper targets with bold aiming zones, numbering, or rings. You want to see immediately whether you are drifting, whether your group is tightening, and whether your shots are consistent.
A common beginner mistake is choosing a “cool” target that is too busy. If the target has too many elements, you can end up chasing details instead of building repeatable fundamentals.
A good rule: pick one aiming point and shoot controlled strings. If you cannot explain why your shots landed where they did, the target is not the issue. The practice plan is.
Intermediate: choose targets that reveal patterns under pressure
Once you can keep groups reasonably tight at typical distances, you need feedback on what happens when you speed up, change cadence, or shift focus.
Intermediate shooters benefit from targets that include:
Multiple aim points for transitions
Numbered zones for accountability
Scoring areas that make “acceptable” vs “great” very obvious
This is where layout matters more than style. Even a basic paper target becomes an excellent training tool if it gives you distinct points to move between and makes it easy to track where shots landed.
If you want targets designed around repetition and performance, the Skill Builder category is the natural fit: https://gogunzee.com/collections/skill-builder-shooting-targets
Advanced: choose targets that demand discipline, not drama
Advanced shooters often chase complexity because it feels like progress. The real progress comes from doing hard basics at a higher standard.
Your target should challenge you to stay accountable while you:
Shrink time
Shrink scoring zones
Add transitions
Add decision-making
At this stage, targets that include vital zones, overlays, or scenario context can be useful, but only if you maintain strict standards. If the target lets you “spray and feel good,” it is not doing its job.
Choose your target type based on feedback, not hype
There are many shooting target types, but for most range sessions you will be choosing between paper layouts and the style of information the target provides.
Simple paper targets: best for measuring improvement
Paper targets are still the king of progress tracking because they show you exactly what happened. They also let you mark drills, label strings, and compare session to session.
If you want measurable growth, paper targets are usually the backbone of a training routine.
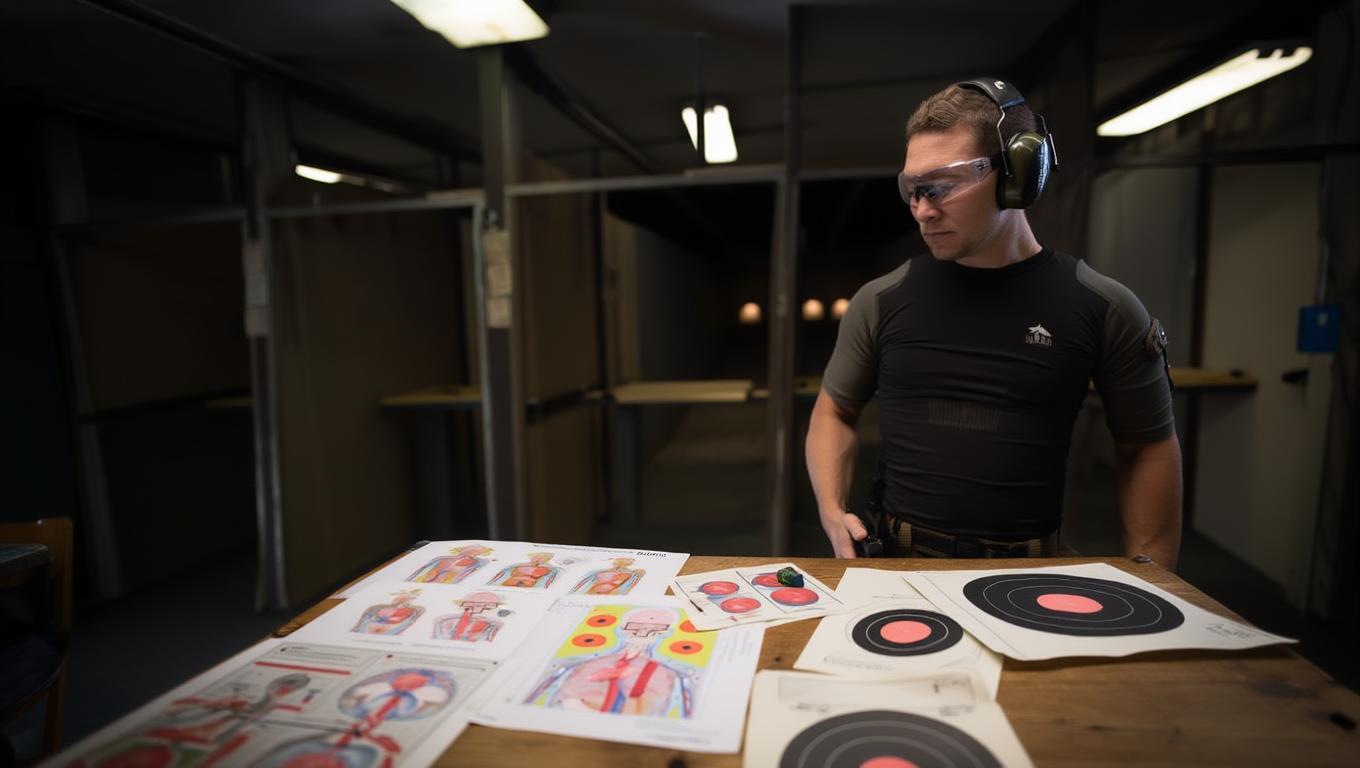
Anatomical targets: best for precision minded shooters who want clear zones
Anatomical style targets can be useful because they encourage “aim small” thinking and make you pay attention to where shots land relative to defined zones.
They are especially helpful when your training goal is precision, not just hitting paper. If that is your direction, GunZee’s Anatomical Shooting Targets collection is here: https://gogunzee.com/collections/anatomical-shooting-targets
Important note: anatomical targets are not a shortcut. They do not replace fundamentals. They just give you a different kind of feedback to help you stay accountable.
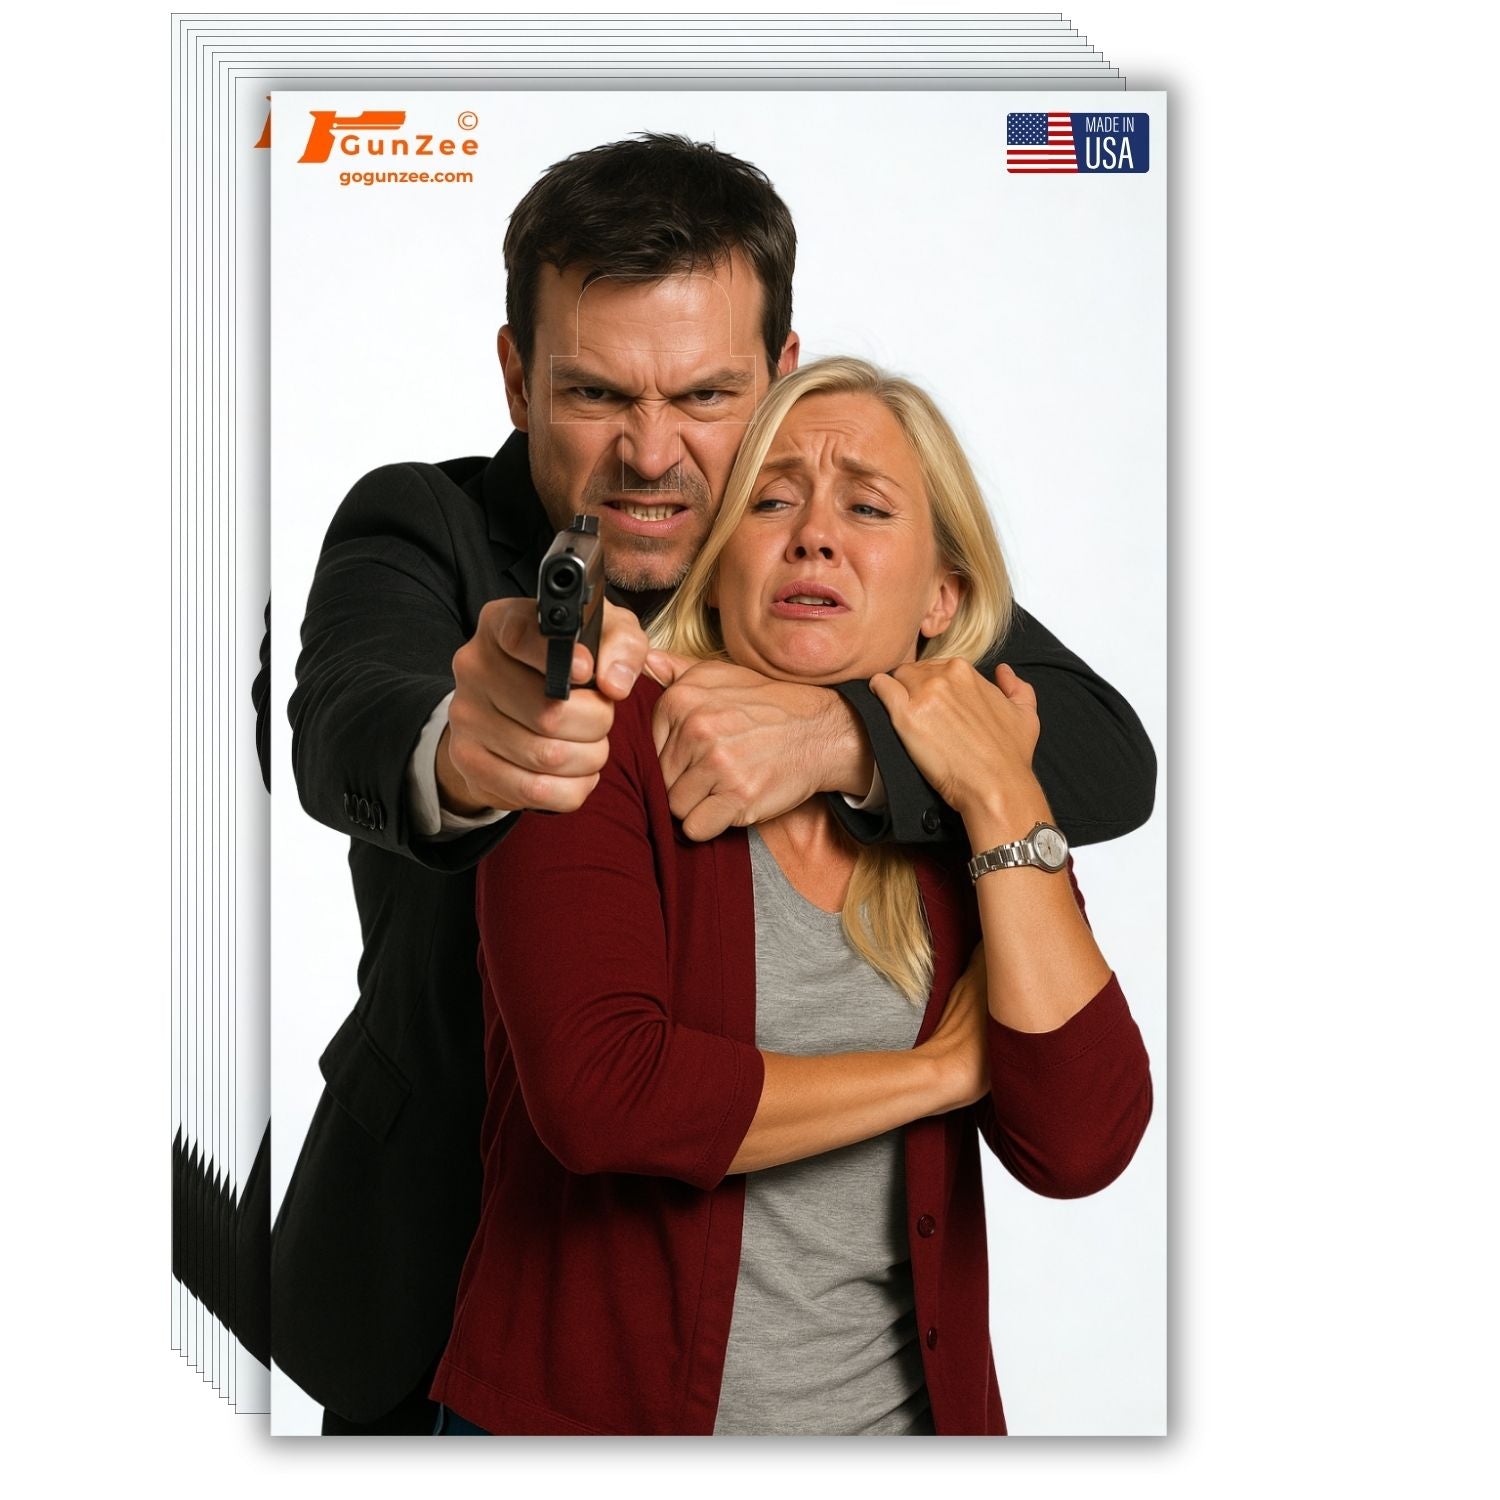
Scenario and movement themed targets: best when used as accountability tools
Targets built around environments, multiple subjects, or CQB style layouts can add structure and engagement, but the key is using them responsibly.
Think of them as visual discipline tools, not “tactical fantasy.” The goal is better decision making, better transitions, better control.
If you are selecting targets in that direction, the CQB category is here: https://gogunzee.com/collections/cqb-shooting-targets
Pick the right target size for distance and visibility
One of the most overlooked parts of training target selection is size. Too small at distance and you lose feedback. Too large up close and you lose precision.
Here is the practical way to choose.
Close distances: smaller targets keep you honest
At close range, big silhouettes can hide mistakes. Smaller aiming points force you to slow down and clean up fundamentals.
If your goal is accuracy at close range, choose targets with smaller zones, numbered points, or tighter scoring rings.
Mid distances: balance clarity with challenge
At typical range distances, you want targets that still let you see hits and measure groups without needing a spotting scope for every string. This is where high contrast zones and well designed scoring areas matter.
Longer distances: bigger formats improve feedback
At longer distances, bigger targets help you track where shots are landing and keep the session productive. That does not mean you stop training precision. It just means you want a target you can actually read without guessing.
A simple rule: if you cannot clearly see the results of your string, your feedback loop breaks. And if your feedback loop breaks, your progress slows down.
Match the target layout to the drill you actually plan to run
This is where most people go wrong. They buy targets first, then try to invent drills that match. Flip it.
Plan the drill first, then choose the layout that supports it.
If your drill is “tight groups”
Pick a target with a clear single aiming point and space to run multiple strings. You want to compare group size and point of impact without confusion.
If your drill is “faster follow up shots”
Pick a target with a defined scoring area that makes it obvious if you are losing control as you speed up.
If your drill is “transitions”
Pick a target with at least two or three distinct aim points. Numbered zones work well because you can call your order and hold yourself accountable.
If your drill is “decision making”
Pick a target that requires you to slow down and confirm what you are aiming at. The goal is to build restraint and clarity under time, not to race.
GunZee has a dedicated Hostage and Threat Assessment collection for that kind of training structure: https://gogunzee.com/collections/hostage-threat-assessment-shooting-targets
Avoid these common target selection mistakes
Mistake 1: changing targets every session
If you switch target styles constantly, you lose comparability. Stick with one target style for a few weeks, then rotate once you have clear baseline results.
Mistake 2: choosing targets that flatter you
Some targets make it easy to feel successful without actually improving. If the scoring zones are huge and your standards are vague, your performance will look better than it is.
Targets should pressure you in a healthy way.
Mistake 3: using a busy target when you need simplicity
If your groups are inconsistent, go simpler. Busy targets are great once you have control, not when you are building it.
Mistake 4: ignoring how your eyes work
Your eyes need a clean place to focus. If you find yourself “floating” between details, pick a target with clearer contrast and a more obvious aiming reference.
Build a simple system for choosing targets every time
Here is a repeatable selection method you can use before any range trip.
Step 1: choose one main goal
Accuracy, speed, transitions, or decision making. One. Not five.
Step 2: pick the target category that supports that goal
Measurable paper layouts for accuracy and progress tracking
Skill builder layouts for repetition and performance
Anatomical for zone accountability and precision focus
Scenario based targets for structured visual discipline
Step 3: choose a size that keeps feedback visible
If you cannot read the target, you cannot improve from it.
Step 4: commit to it for a few sessions
Give yourself time to see trends. One session can be a fluke. Three to five sessions start to show reality.
A quick note on comfort and training consistency
This is not talked about enough, but it matters: if your gear setup makes training uncomfortable, you will train less. Or you will rush sessions. Or you will spend half the time adjusting instead of building skill.
That is why some shooters add comfort solutions that reduce hot spots during longer training days. If that is relevant to your setup, you can check the GunZee Classic Series holster pads here: https://gogunzee.com/collections/gunzee-classic-series
Training consistency is a big part of results. Anything that helps you train more often, with less distraction, supports progress.
FAQs
What is the best target for a beginner?
Most beginners do best with paper targets that have a clear aiming point and obvious scoring or reference zones. The goal is simple feedback that helps you build fundamentals.
How do I know which target size to use?
Choose a target size that keeps feedback visible at your distance. If you cannot clearly see hits and groups, go larger or choose higher contrast layouts.
Are anatomical targets better than standard paper targets?
They are not automatically better. Anatomical targets are useful if you want defined zones that encourage precision and accountability, but standard paper targets are still excellent for measuring progress.
Should I train with scenario targets?
Scenario targets can be helpful when used responsibly as visual discipline and decision making tools. They work best when you keep standards strict and focus on controlled execution.
How often should I switch target styles?
Do not switch every session. Pick one style, use it for several sessions, track results, then rotate when you have a baseline and a clear reason to change.
Where should I start on the GunZee site if I want one solid all around option?
Start with the main Shooting Targets collection, then filter based on your current goal and preferred format: https://gogunzee.com/collections/targets

